

Overview
If you’re using Microsoft Configuration Manager to manage Dell devices, you should use the Dell Command Integration Suite for System Center. This tool enhances the Configuration Manager console to include shortcuts and wizards to automate the process of preparing the necessary drivers, applications and task sequences you will need to support managing the lifecycle of your Dell fleet. This article documents the process of installing and configuring Dell Command Integration Suite for System Center, as well as an example task sequence configured to deploy Windows 10 Pro to a Dell device.
- Overview
- Installing the Dell Command Integration Suite for System Center
- Preparing Configuration Manager for Dell Command Integration Suite Optimized Operating System Deployment
- Creating a Dell Optimized Task Sequence for Operating System Deployment
- Deploy a Dell Optimized Task Sequence for Operating System Deployment
Installing the Dell Command Integration Suite for System Center
On your primary site server, download the latest Dell Command Integration Suite for System Center executable. As of the posting of this blog article, 6.5.1 was the latest version and it is available here: https://www.dell.com/support/home/en-us/drivers/driversdetails?driverId=KR54T
Note: There is a hotfix available to address a compatibility issue with Configuration Manager site version 2403 or higher. The hotfix is in the form of a PowerShell script that needs to be run after we install the Command Integration Suite. More information can be found on the Dell Command Integration Suite for System Center product support article: https://www.dell.com/support/kbdoc/en-us/000178049/dell-command-integration-suite-for-microsoft-system-center
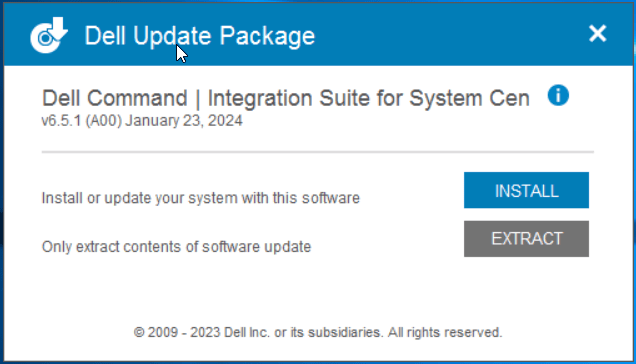
Run the Dell-Command-Integration-Suite-for-System-Center_KR54T_WIN_6.5.1_A00.exe installer as administrator. Click Install to proceed.
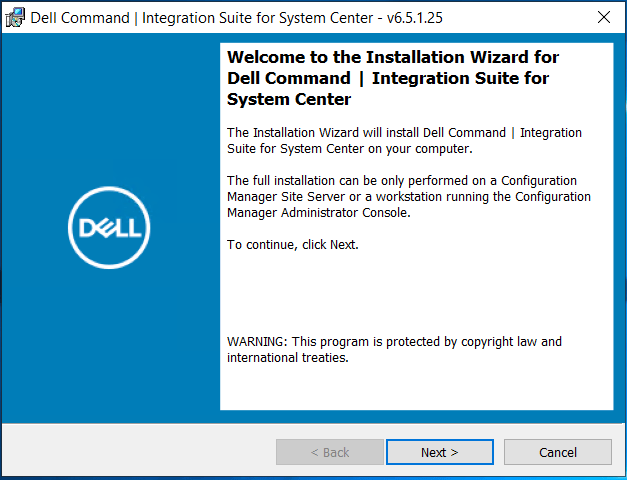
Click Next.
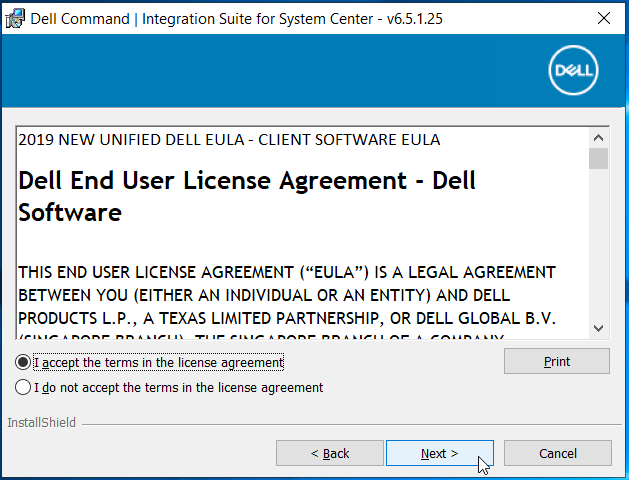
Accept the terms of the license agreement, then click Next to continue.
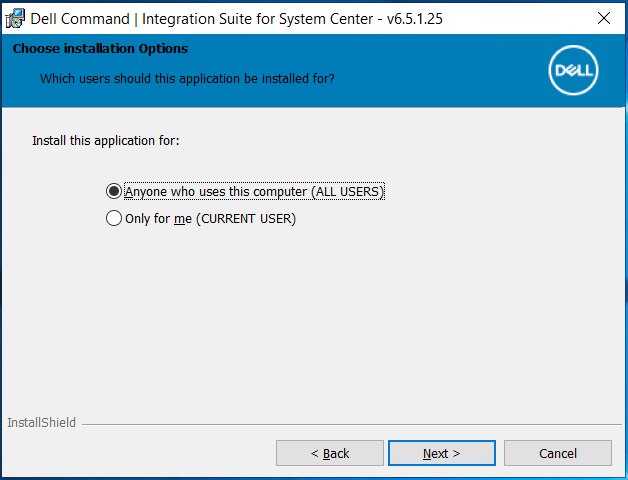
Under installation options, select Anyone who uses this computer (ALL USERS), then click Next.
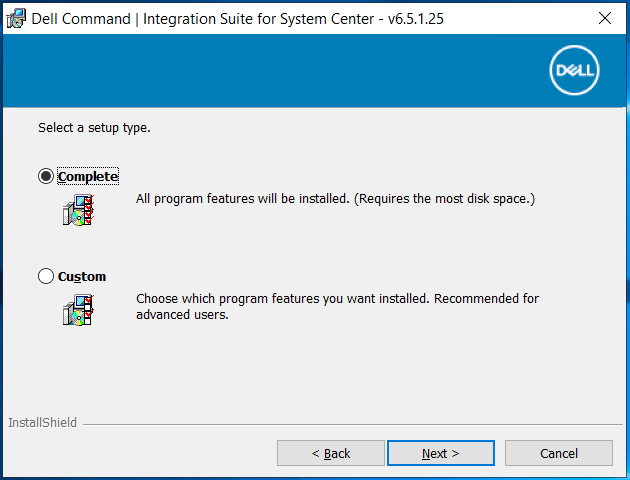
Ensure Complete is selected on the setup type page, then click Next.
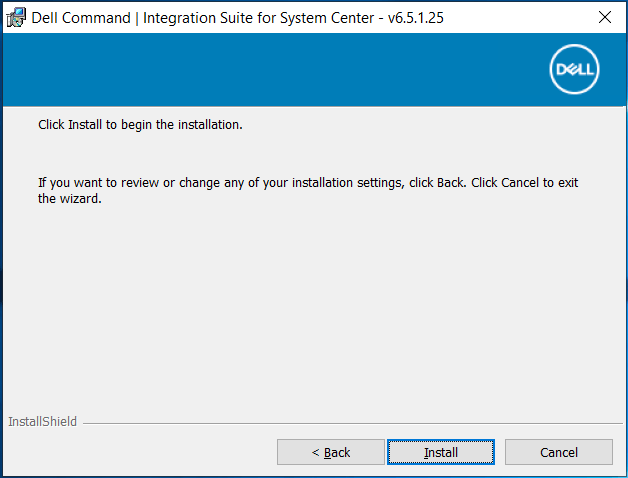
Click Install.
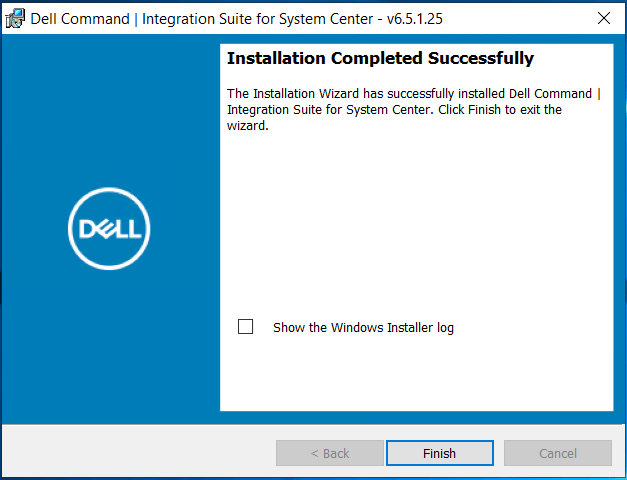
Click Finish to complete.
Click Close on the Dell Update Package installation wizard.

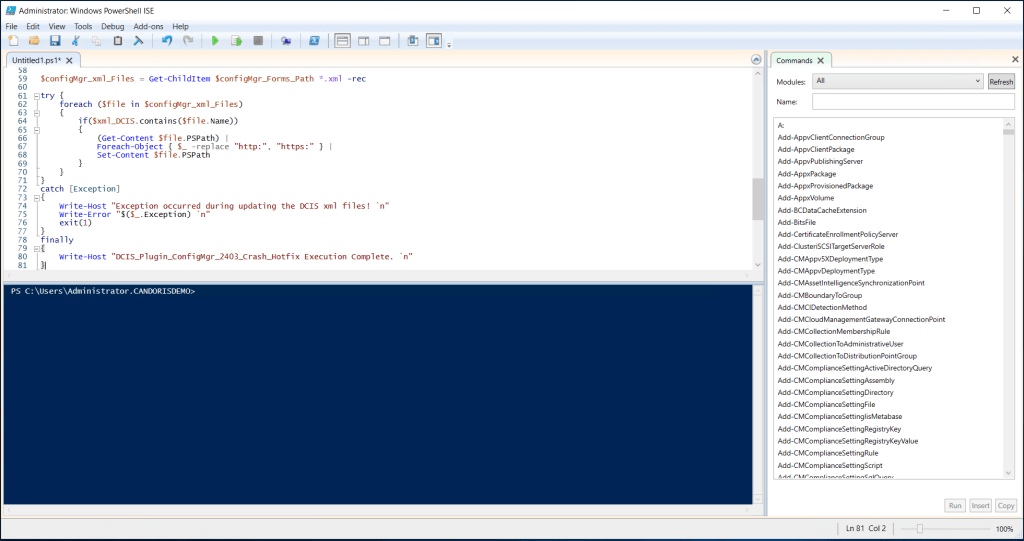
Since my site version is 2403, I will now apply the hotfix mentioned in the note above using the instructions provided in the script:
       If you are an administrator, follow these steps to run the following script:
        1. Open Windows PowerShell ISE as administrator.
        2. Copy-paste the entire script contents into Windows PowerShell ISE.
        3. Click Run Script (or press F5 on the keyboard) to run the script.
The script contents can be found here (DCIS hotfix for MECM version 2403 and higher): https://www.dell.com/support/kbdoc/en-us/000178049/dell-command-integration-suite-for-microsoft-system-center
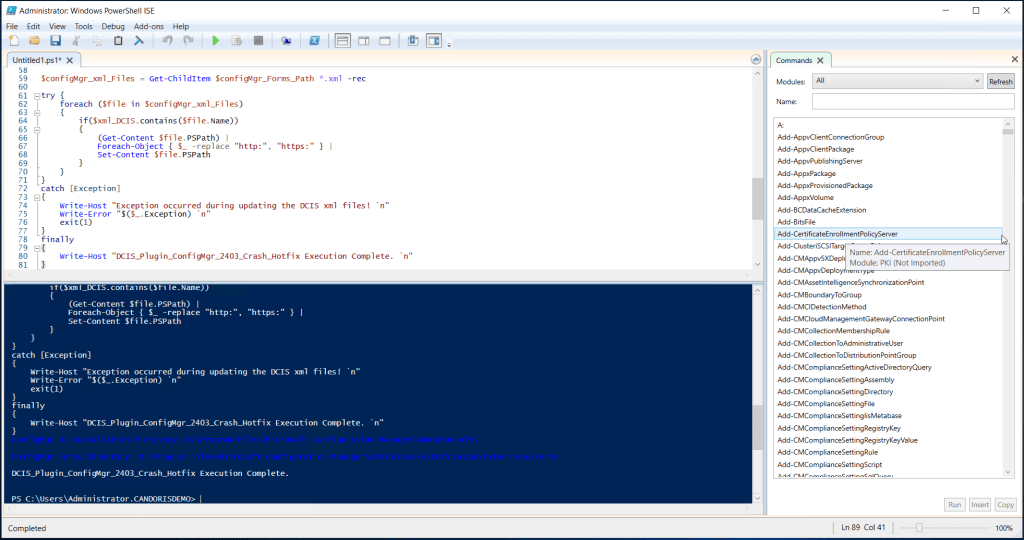
Close Powershell ISE when the script completes successfully.
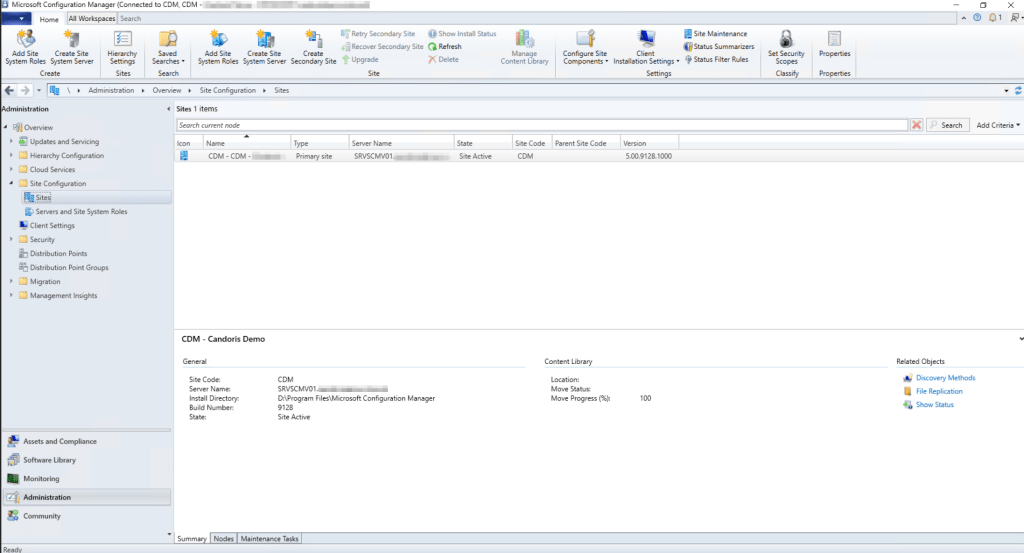
One additional step is required to enable the Dell Command tools to display inside the Configuration Manager console. We need to disable a setting that is enabled by default in all Configuration Manager site’s version 2103 and later. We do this from Administration > Site Configuration > Sites in the console. From there, select your site from the sites pane.
Click Hierarchy Settings from the task ribbon.

Uncheck the Only allow console extentions that are approved for the hierarchy, then click OK.
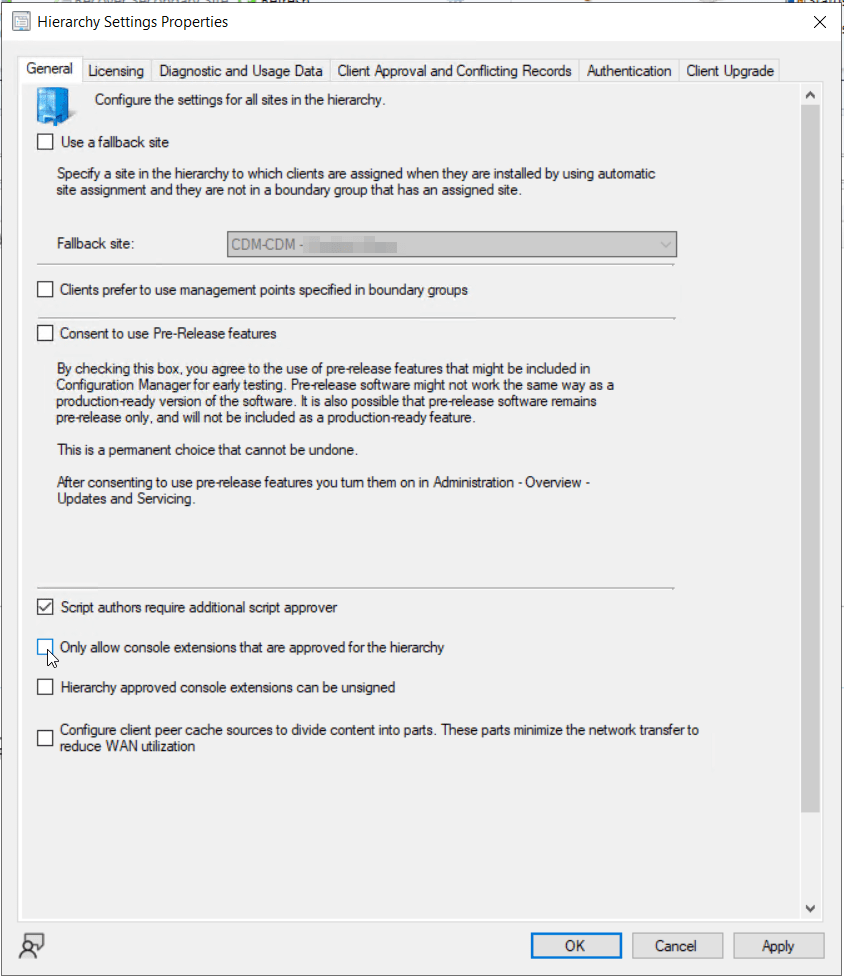
Close the Configuration Manager console, then re-open it. The Dell Command Integration Suite tools will now appear in the appropriate locations across the console.
Preparing Configuration Manager for Dell Command Integration Suite Optimized Operating System Deployment
Deploying the Client Custom Reboot Script Package
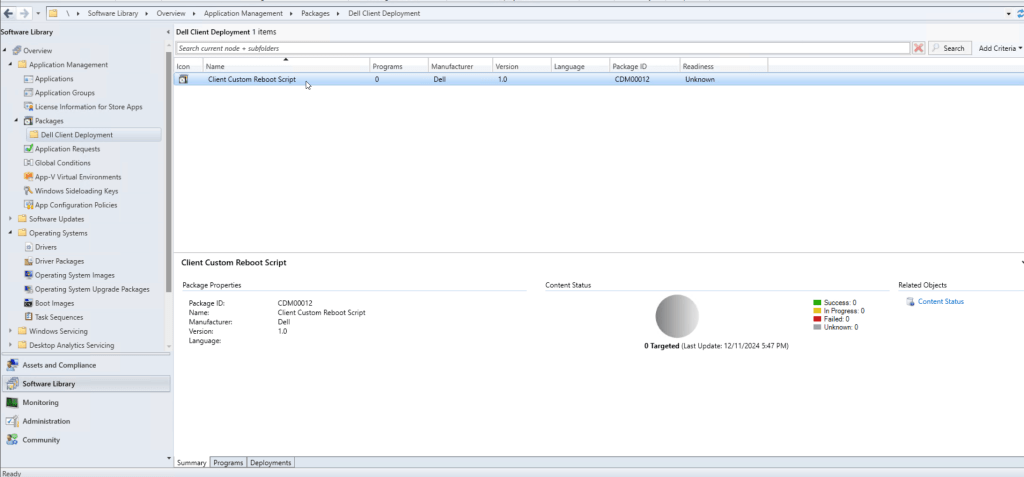
After a successful installation of the toolset, we must first ensure the Dell Client Deployment – Client Custom Reboot Script package that was created automatically is distributed to our site’s distribution points. From the Configuration Manager console, navigate to Software Library > Application Deployment > Packages > Dell Client Deployment and select the package named Client Custom Reboot Script.
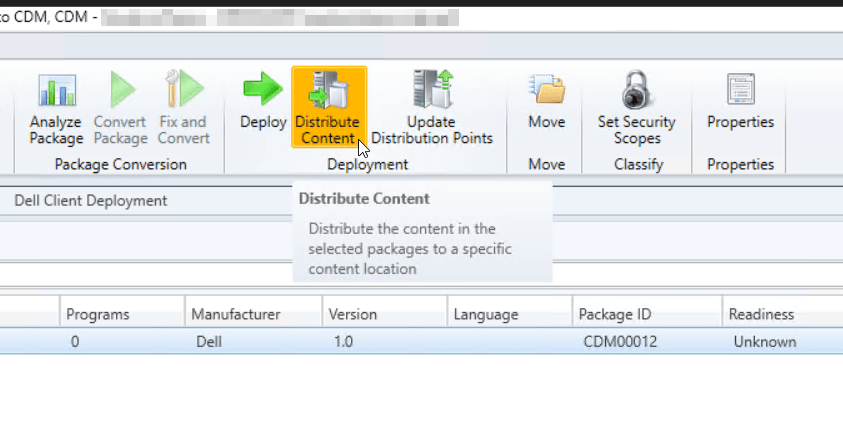
Click Distribute Content from the task ribbon.
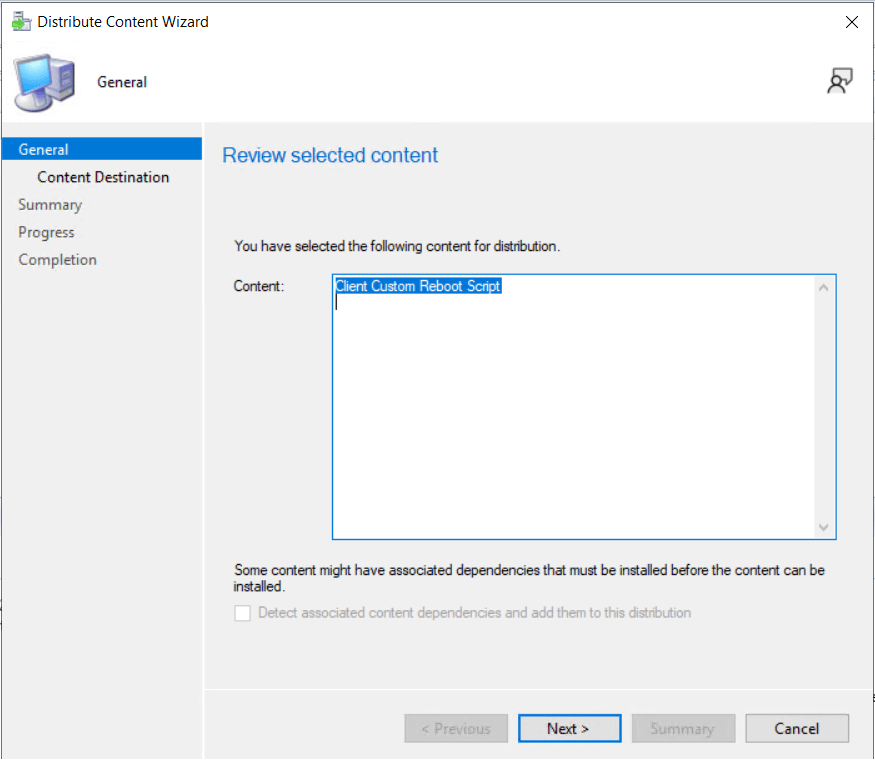
Click Next on the first page of the Distribute Content Wizard.
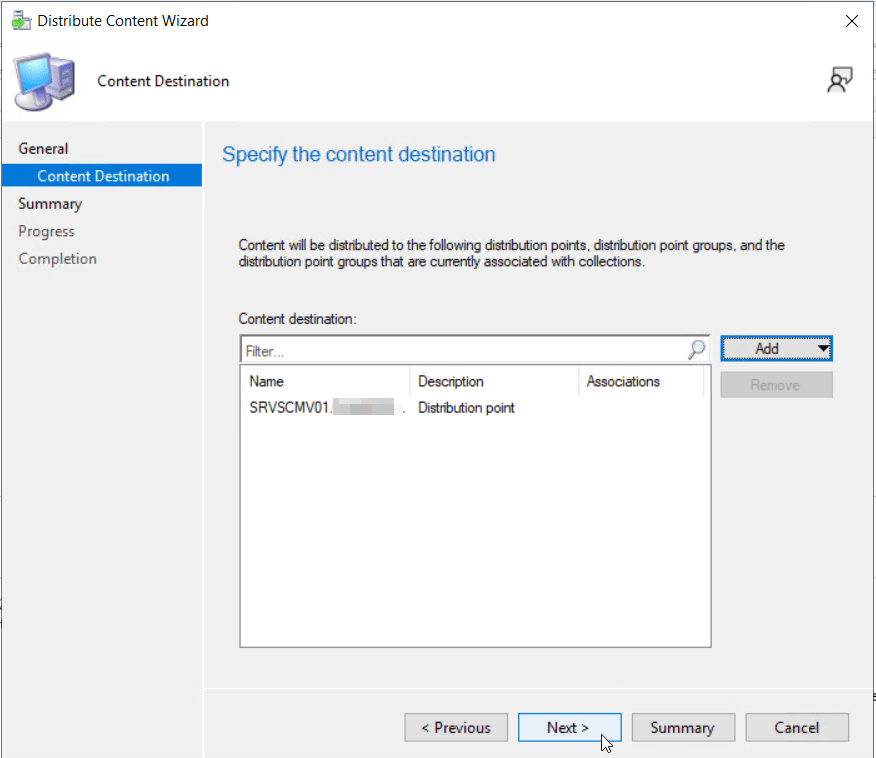
Add the appropriate distribution points and/or distribution point groups in your site that will be accessible to endpoints going through the operating system deployment process. Click Next to continue.
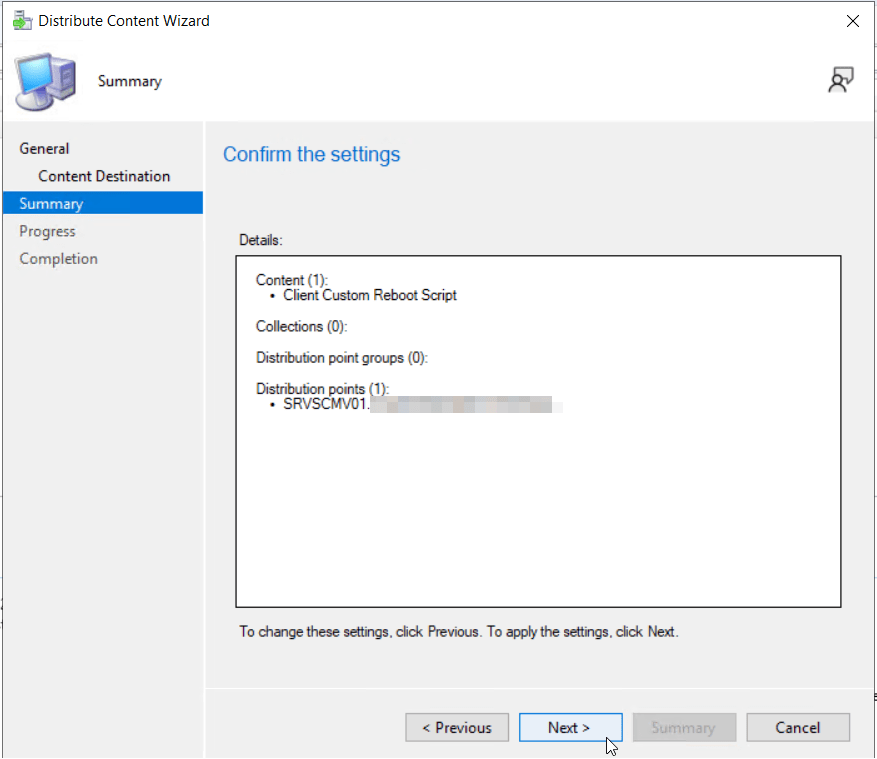
Confirm your settings, then click Next to begin the content distribution.
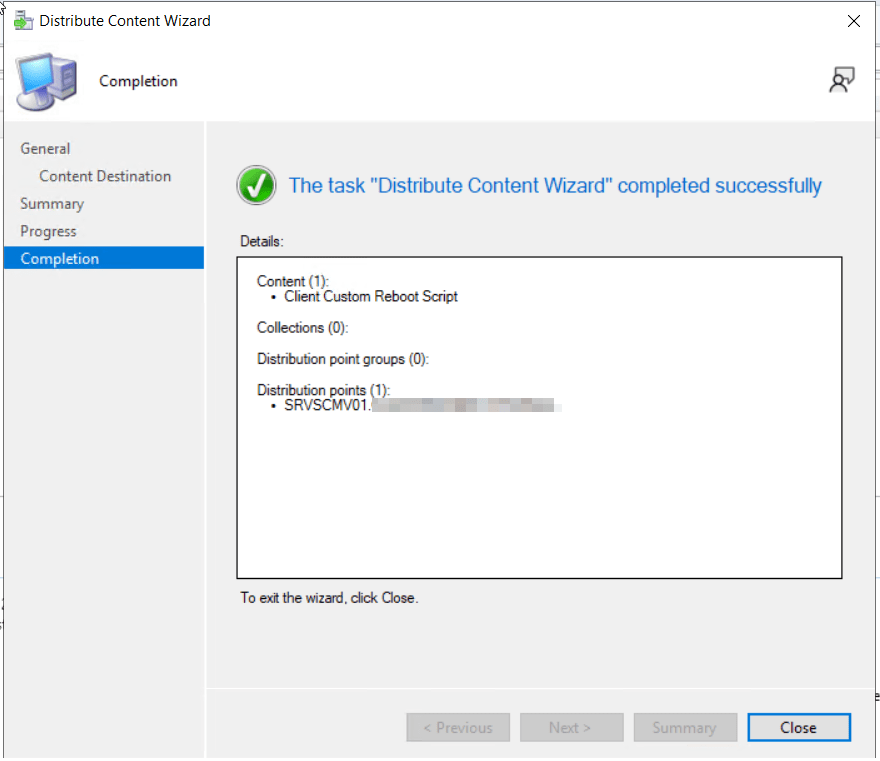
Click Close to finish the wizard.
Inject Dell WinPE Drivers into Boot Images
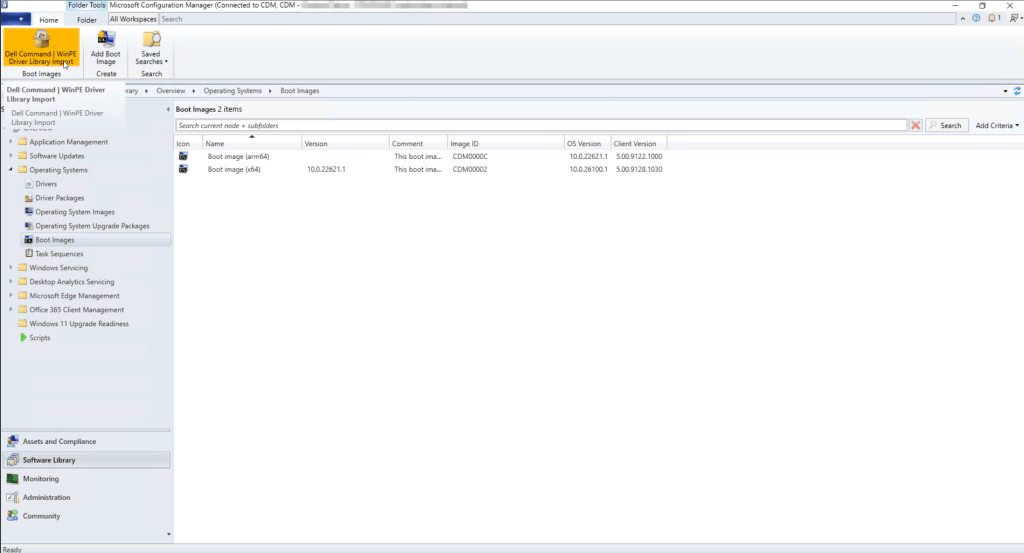
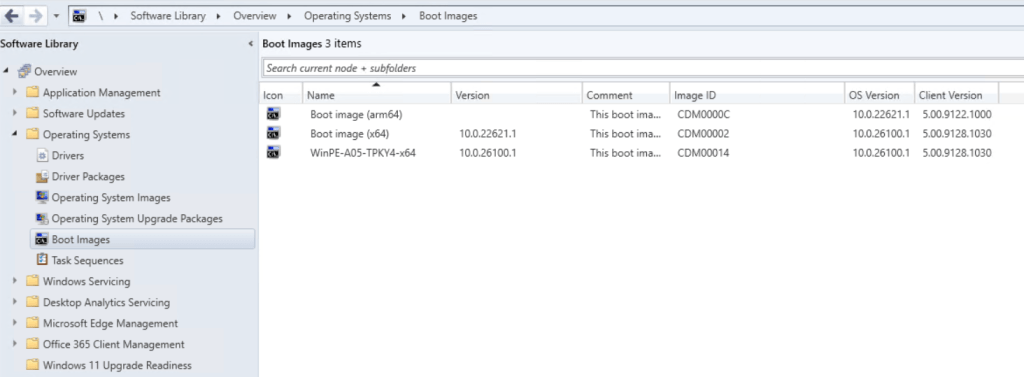
Our next step is to inject the Dell specific WinPE drivers into our Configuration Manager boot images to ensure Dell devices booting through PXE into WinPE are able to startup properly. To do this, navigate to Software Library > Operating Systems > Boot Images in the Configuration Manager console.
From the task ribbon, click Dell Command | WinPE Driver Library Import
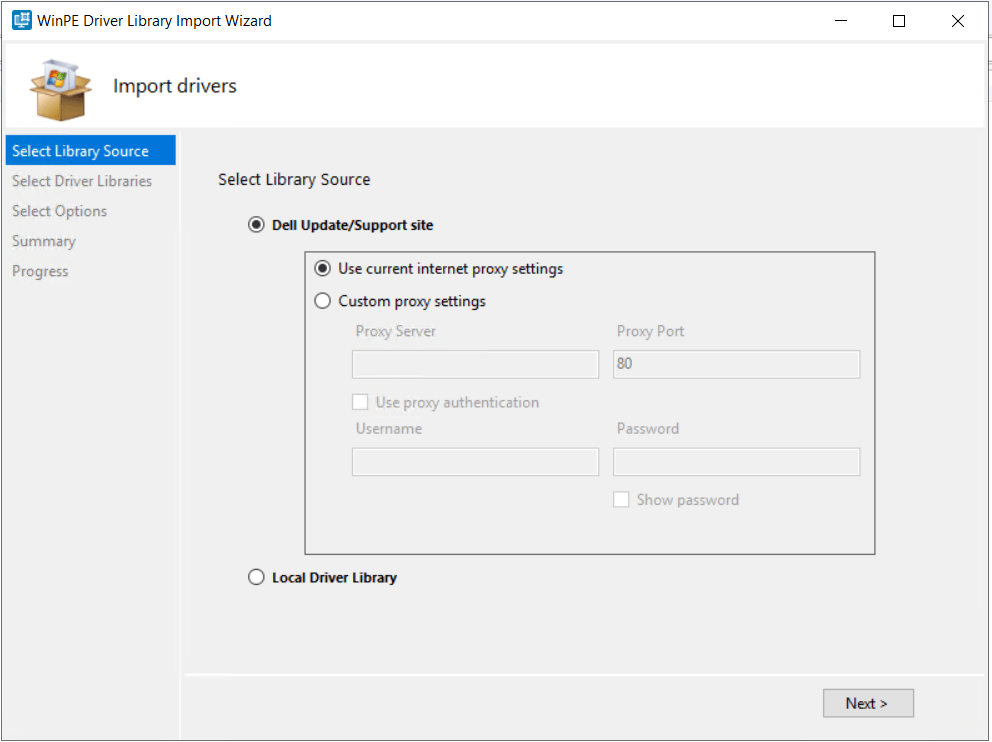
On the first page of the WinPE Library Import Wizard, select Dell Update/Support site. I’m choosing to source the WinPE drivers directly from the Dell Update/Support Site as my site server has outbound connectivity to the Internet. If your site server is restricted from Internet access, you will need to manually download the appropriate WinPE CAB files from Dell and choose the Local Driver Library option instead.
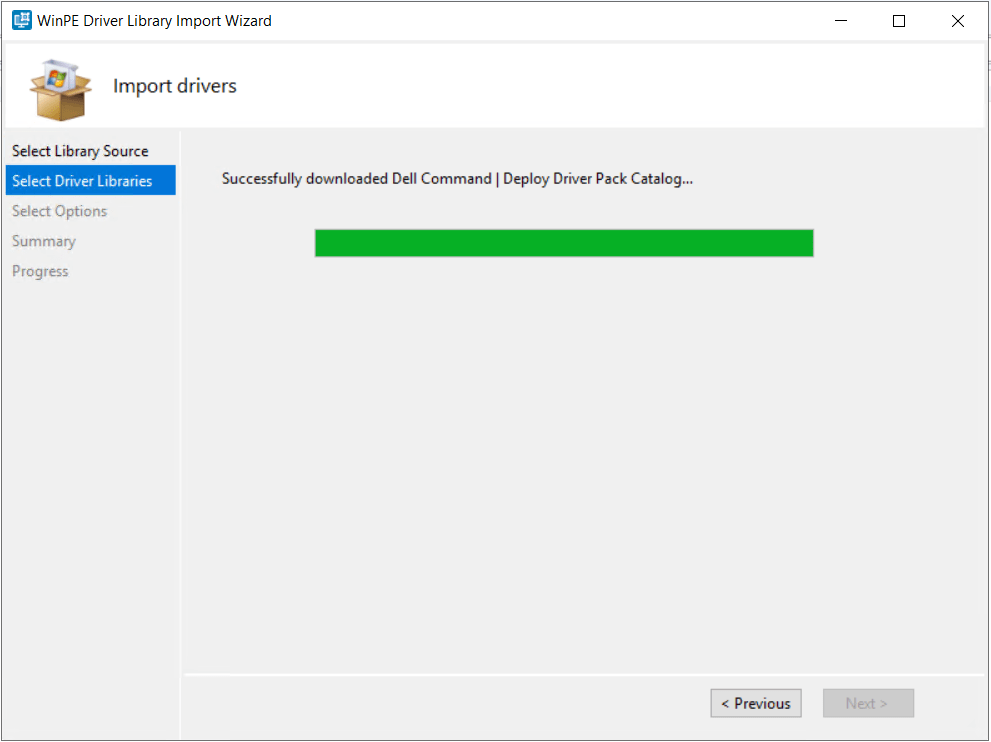
Click Next. The wizard will download the WinPE driver metadata from the Dell Support site.
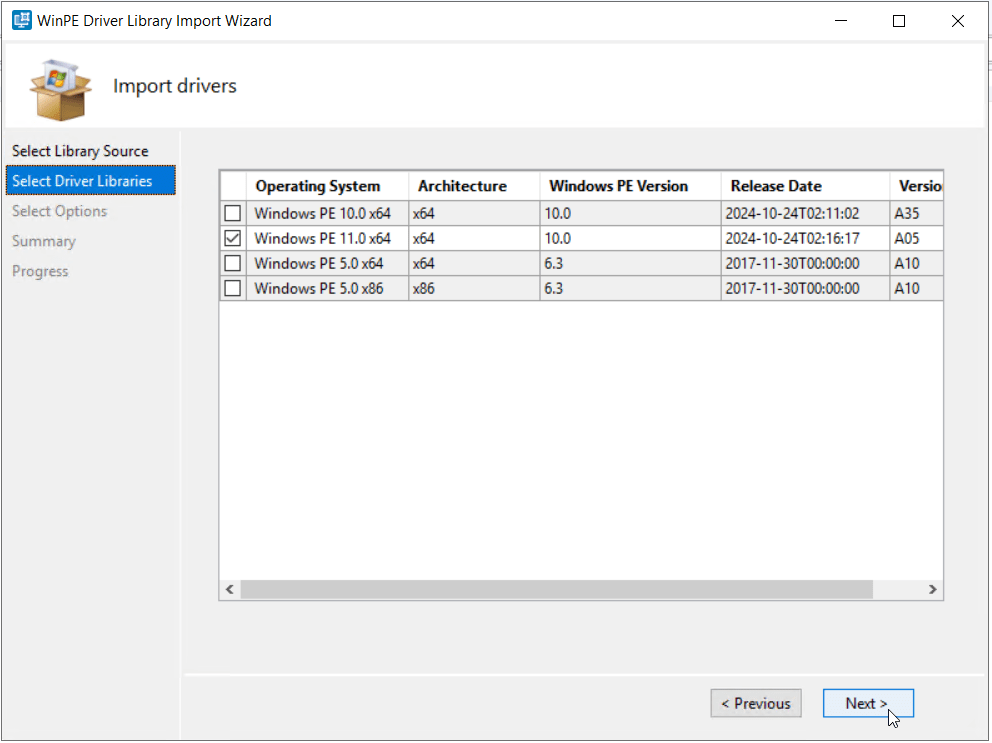
On the Select Driver Libraries page of the wizard, we will select the appropriate WinPE drivers to inject into our boot image. I will select the Windows PE 11.0 x64 driver package, then click Next.
On the options page, select the Boot Image (x64) and the appropriate distribution points. A UNC destination path should automatically be filled in for you. Click Next to continue.

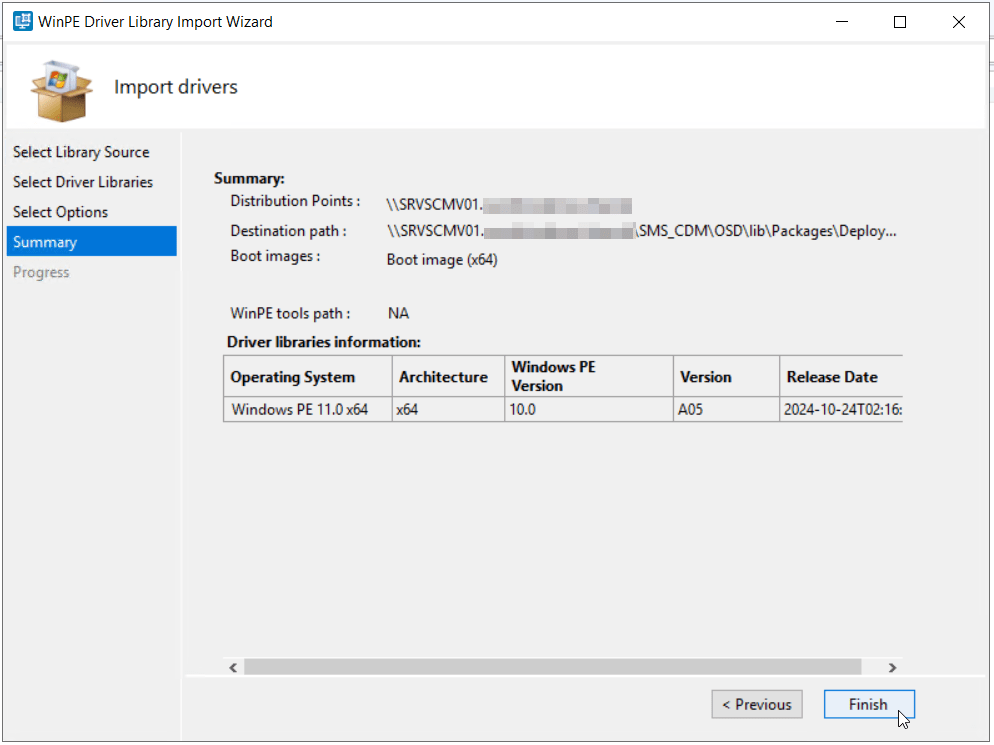
Confirm settings on the Summary page, then click Finish to begin the WinPE driver injection into the x64 Boot Image.
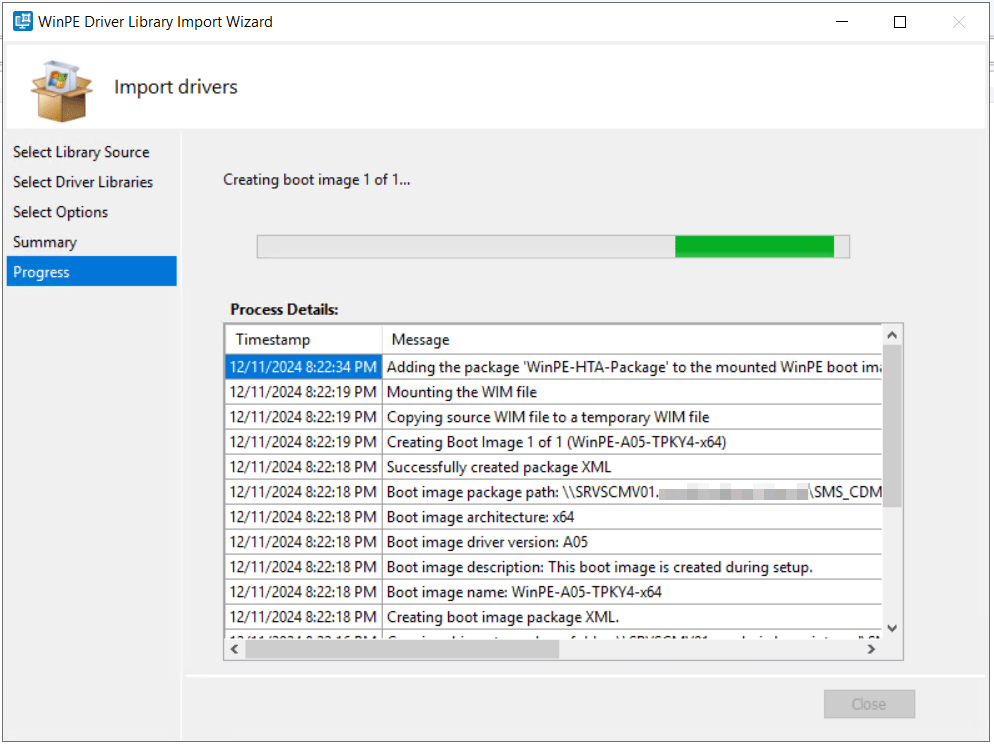
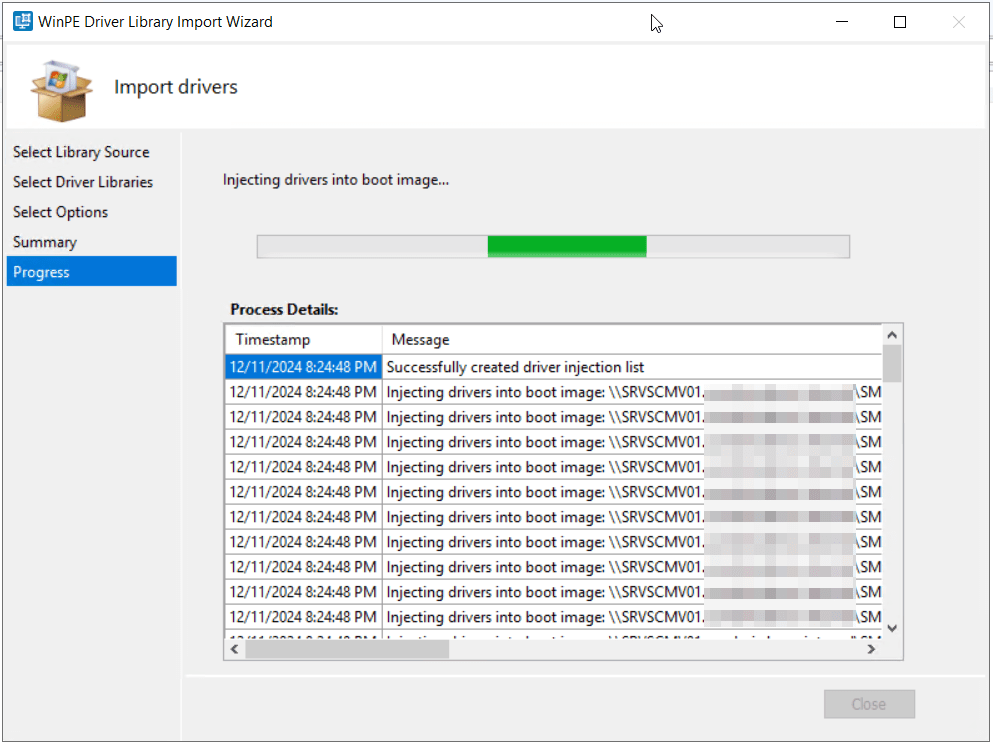

Click Close to complete the wizard.
On the Boot Images screen, you will now see a new boot image displayed with the prefix WinPE-. This is our custom boot image with the Dell specific WinPE drivers.
Create and Deploy Dell Driver Packages
In the last task, we imported Dell specific WinPE drivers into the boot images of Configuration Manager to ensure Dell device peripherals such as network adapters, storage drivers, etc. are accessible during the WinPE phase of operating system deployment. Our next step will be to import Dell specific Windows 10/11 drivers into Configuration Manager, so they are accessible to task sequences for deployment on Dell specific hardware.
Note: This step is likely less important than it used to be with previous versions of Microsoft Windows. Between the generic drivers built into the Windows 10/11 operating system and the OEM published drivers in Windows Update for Business, the best drivers are often already installed or will be installed shortly after operating system deployment. That said, the driver package deployment described here is still the most reliable way to ensure the most appropriate Dell specific drivers are installed during operating system deployment using Configuration Manager.
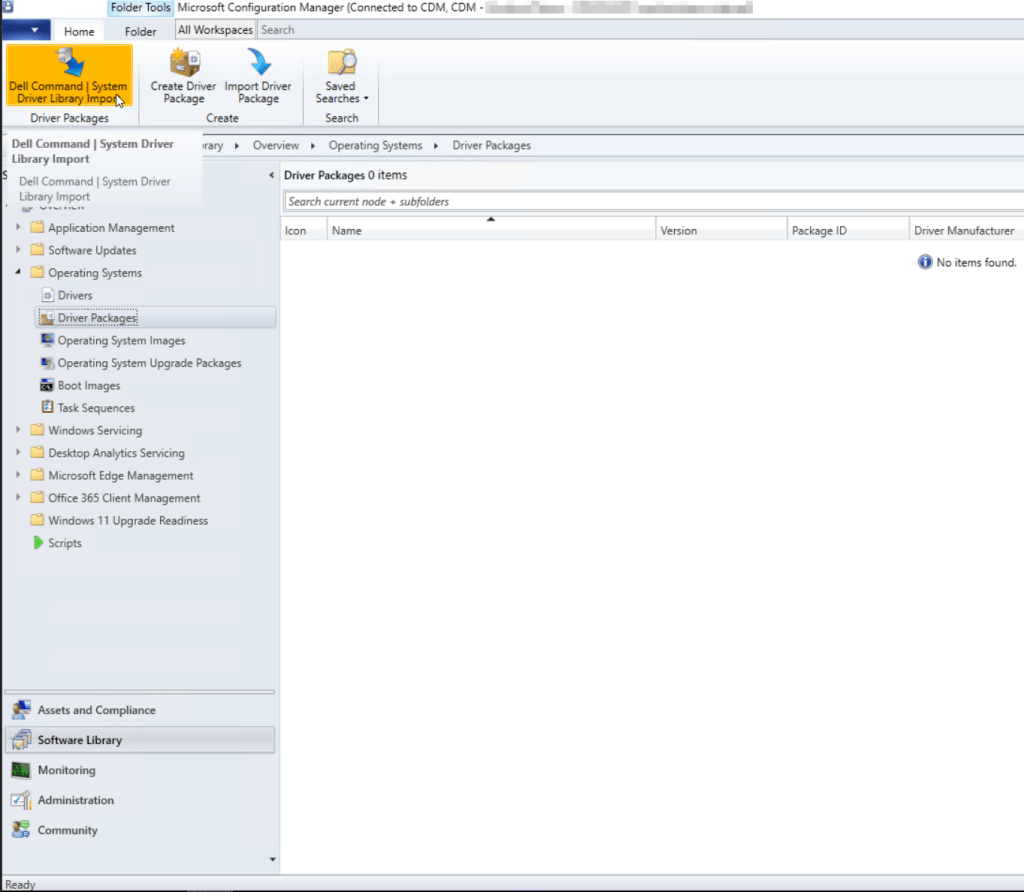
From the Configuration Manager console, navigate to Software Library > Operating Systems > Driver Packages. Click the Dell Command | System Driver Library Import button on the task ribbon bar.
On the first page of the System Driver Library Import Wizard, select Dell Update/Support site. I’m choosing to source the Dell specific drivers directly from the Dell Update/Support Site as my site server has outbound connectivity to the Internet. If your site server is restricted from Internet access, you will need to manually download the appropriate Driver Library CAB files from Dell and choose the Local Driver Library option instead. Click Next to continue.

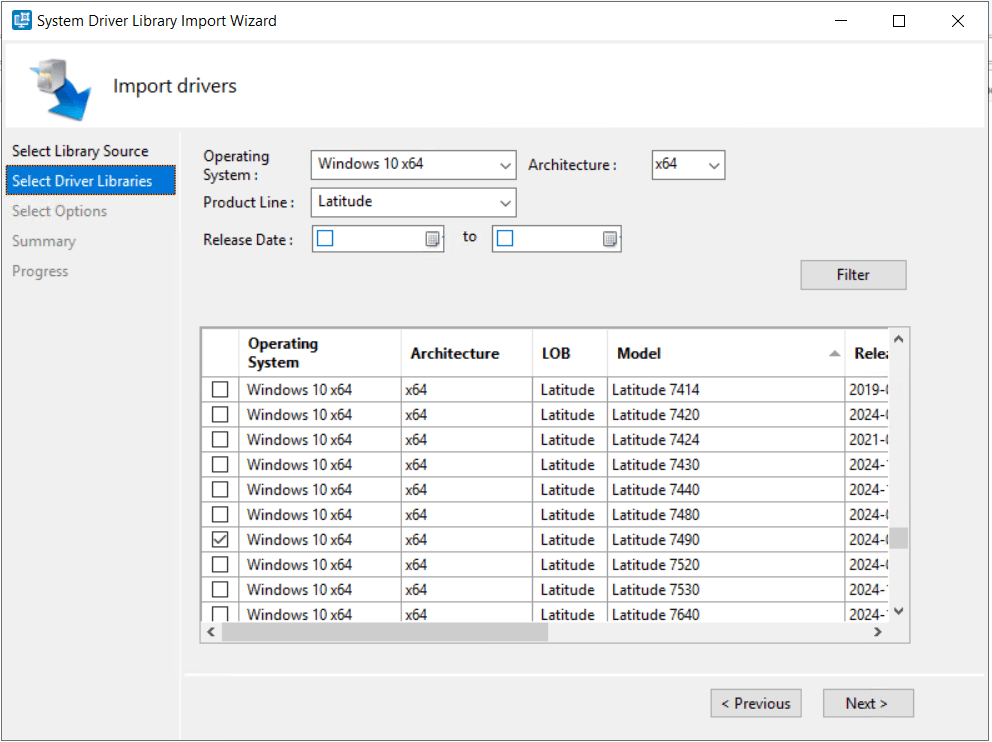
On the Driver Libraries page of the wizard, select the appropriate Operating System, Architecture, and Product Line for the specific model you are attempting to import drivers for. Click the Filter button to narrow the search.
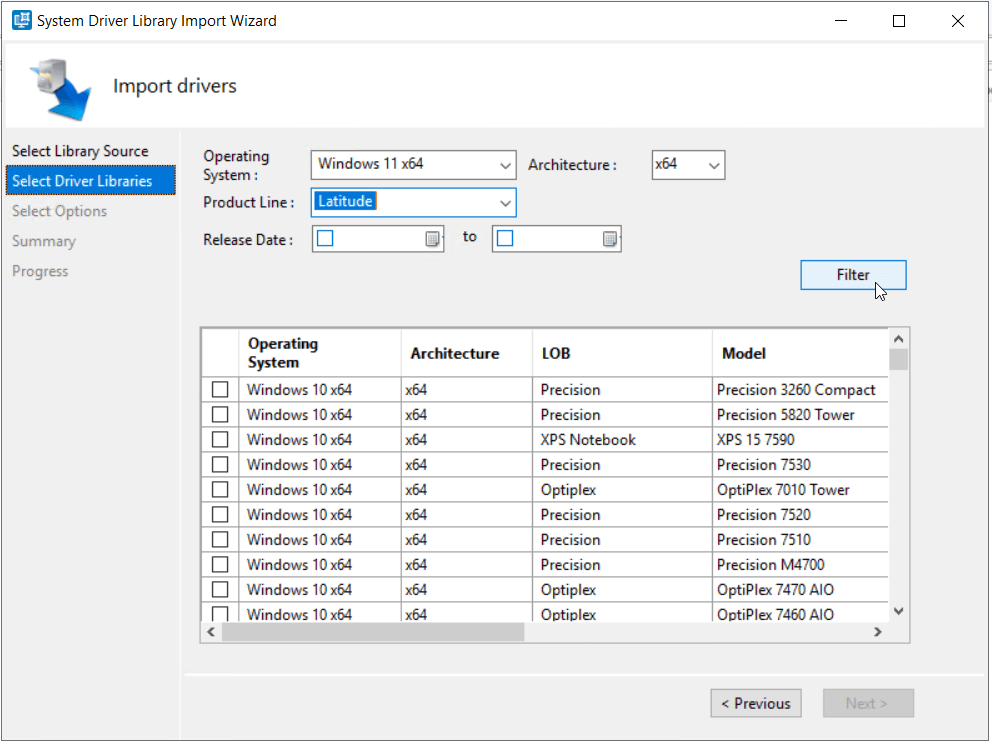
Select the appropriate driver package from the list, then click Next.
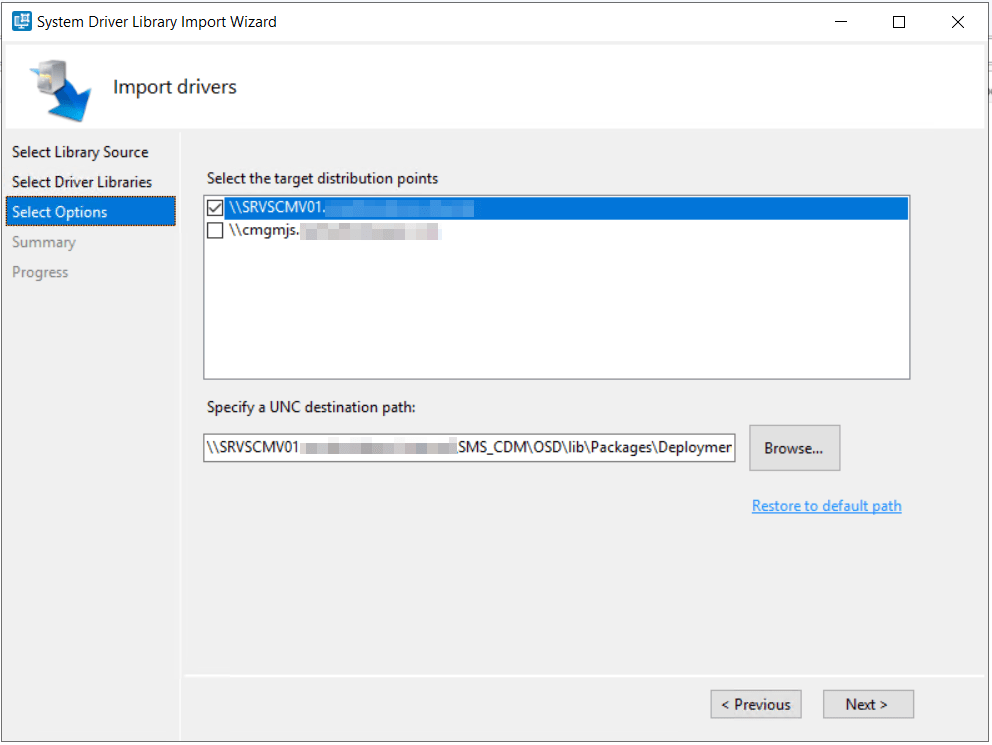
On the Options page, select the Target Distribution Points in your site. The UNC path will automatically be filled in for you. Click Next to continue.
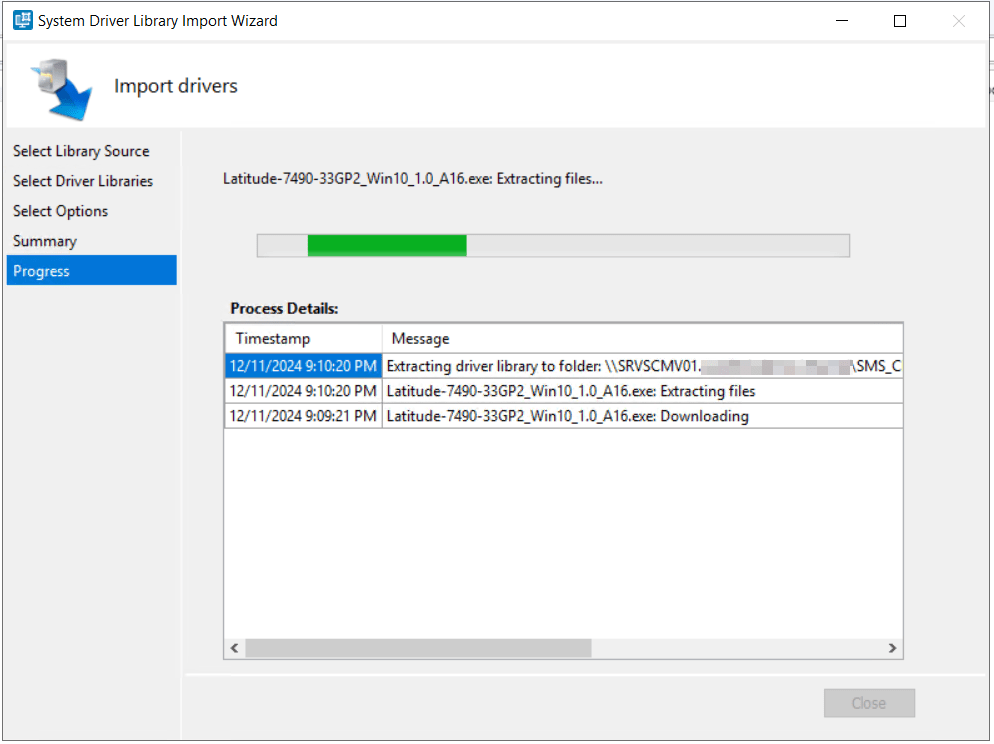
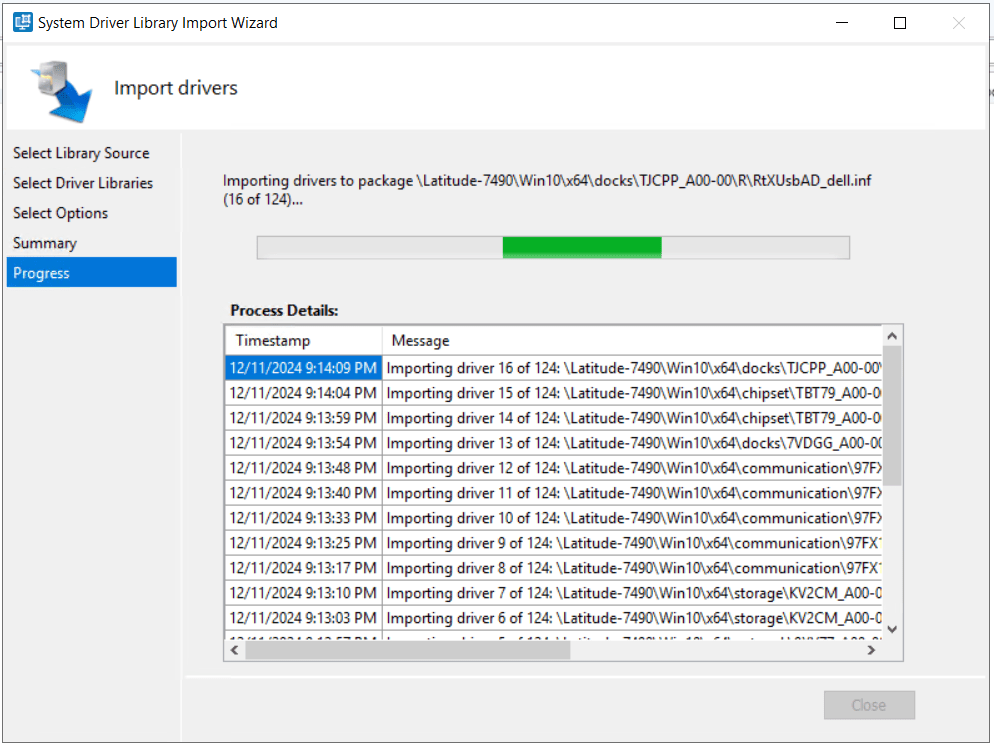
Confirm settings on the Summary page, then click Finish to begin the driver import and package creation process. The Dell driver CAB’s for Windows will take considerably longer to download and install as they are much larger packages than the WinPE driver packages.

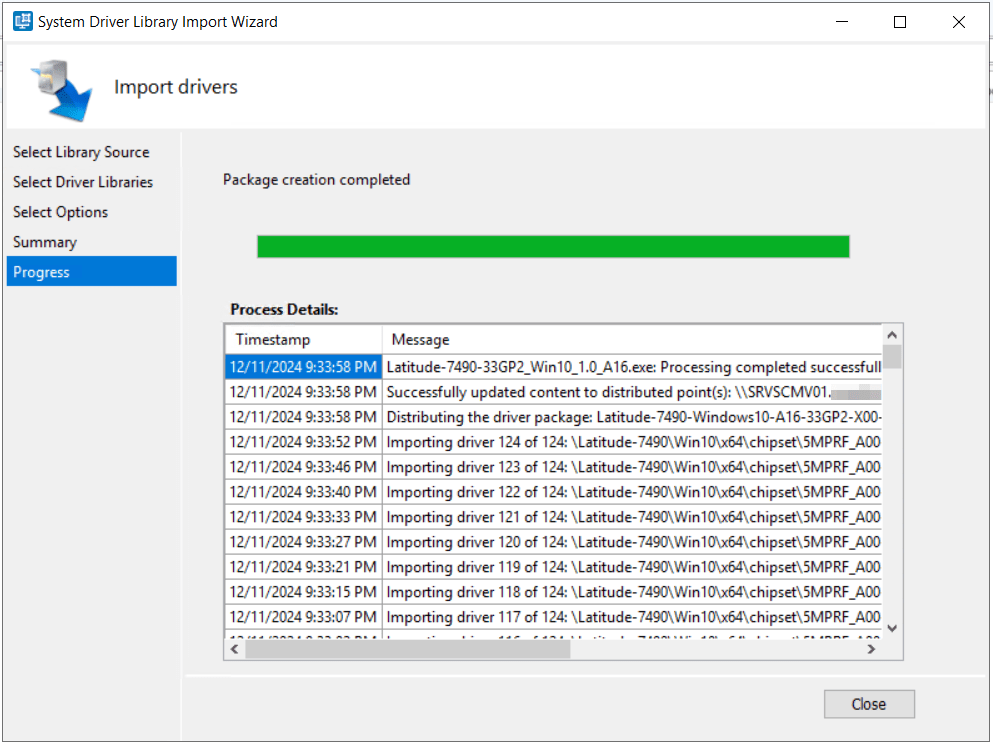
Click Close to finish the driver import wizard.
Creating a Dell Optimized Task Sequence for Operating System Deployment
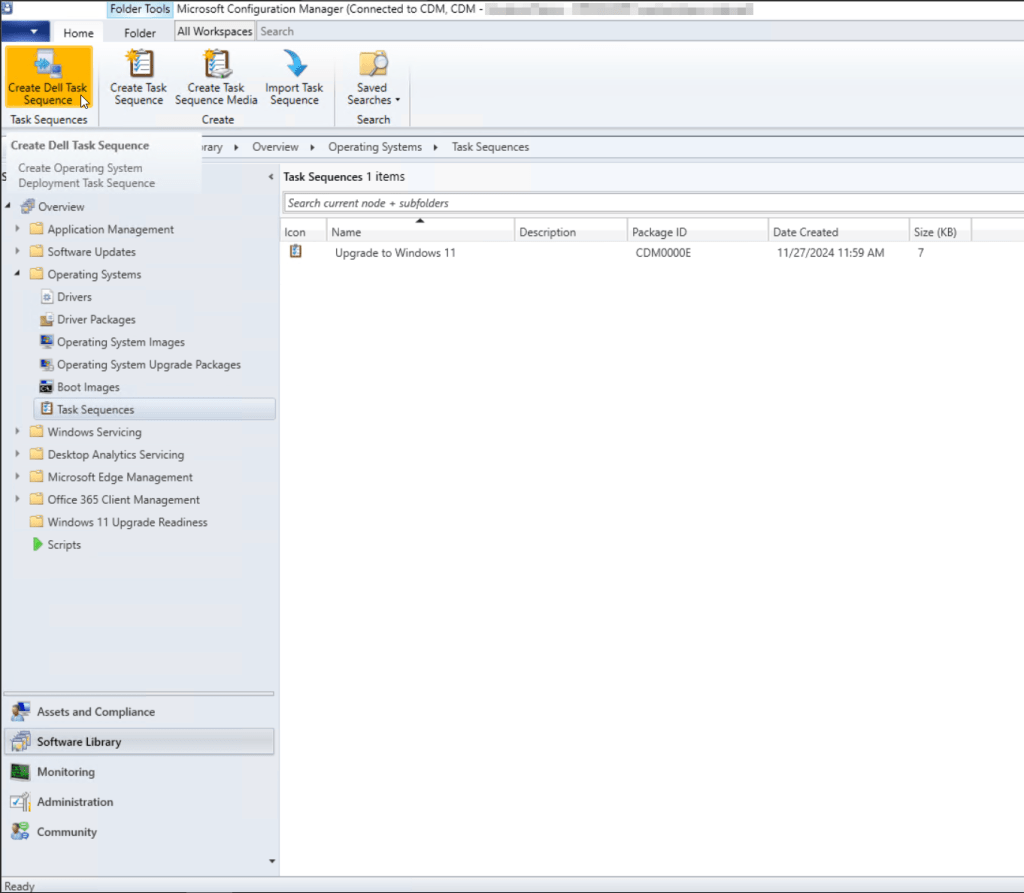
We’ve prepared all the prerequisite configurations for a Dell optimized operating system deployment with Microsoft Configuration Manager. Our last step is to create a task sequence and deploy.
In the Configuration Manager console, navigate to Software Library > Operating Systems > Task Sequences. In the task ribbon, click the Create Dell Task Sequence button.
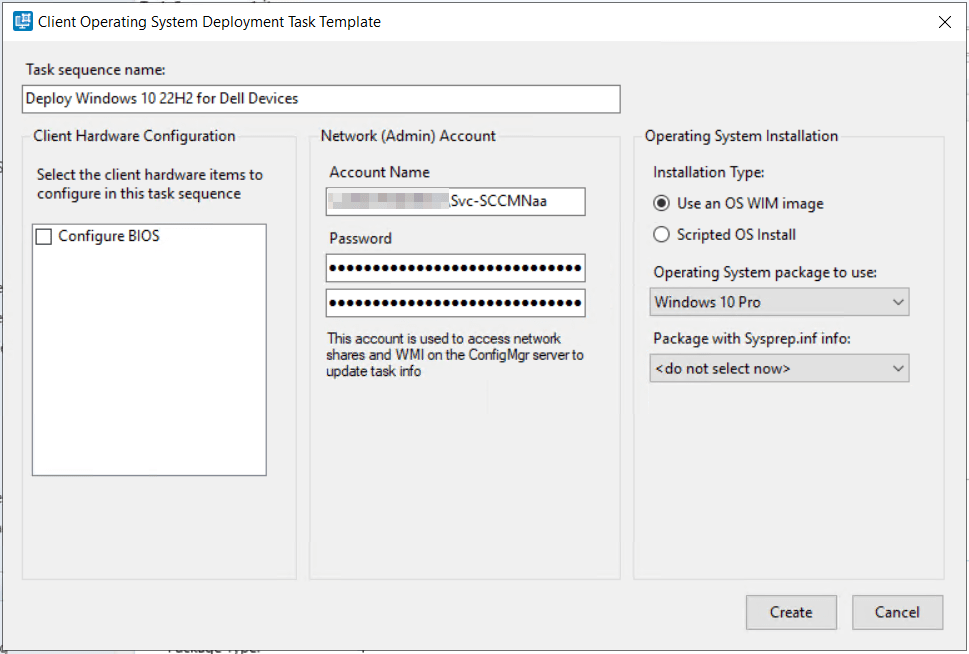
On the Client Operating System Deployment Task Template wizard, add a task sequence Name. I will leave the option to Configure BIOS unselected for this example although it’s important to note that with a few additional steps you can set up a task sequence to configure the Dell BIOS during operating system deployment.
You’ll need to specify your Configuration Manager site Network Access Account credentials that have been configured as part of your Configuration Manager site deployment. Leave the installation type set to Use an OS WIM image. From the Operating System package to use, select an appropriate operating system image, in my case Windows 10 Pro. From the Package with Sysprep.inf info dropdown, select <do not select now>, as we do not have a sysprep.inf file in a package we wish to use, then click Create.
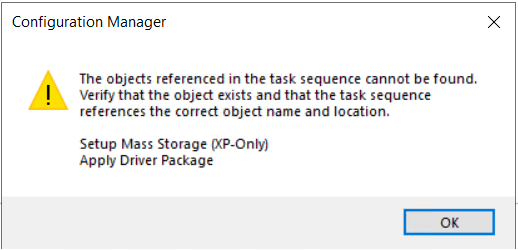
A notice will display warning you that you will receive an error message when you edit the task sequence. This is because the wizard deploys the task sequence steps that need more information from you (values) to work properly. We will address these values in the next steps. Click Close on the notification.
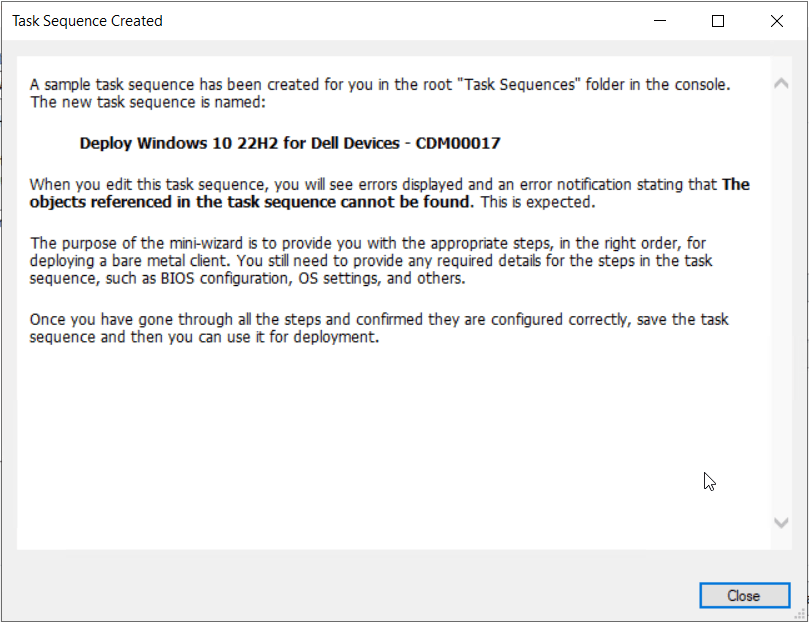
The new task sequence will display in the console. Right-click the new task sequence and select Edit.
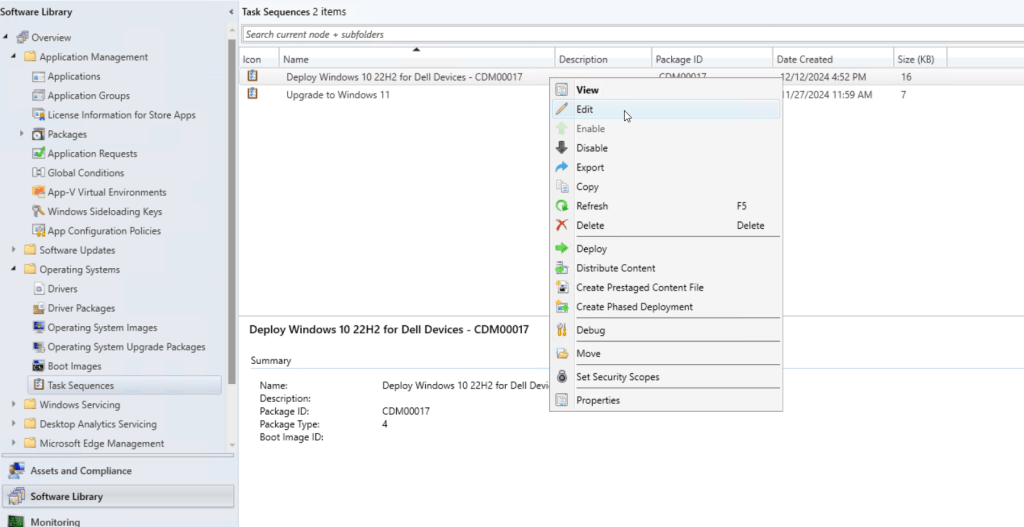
You can safely ignore the warning message regarding the references in the “Setup Mass Storage (XP-Only)” and “Apply Driver Package” steps as mentioned in the previous step.
Our first step in editing the task sequence is to fix the values for the template configuration steps. Starting with the Setup windows and ConfigMgr step under Deploy Operating System > Build the Reference Machine. Click the Browse button next to the Client package field.
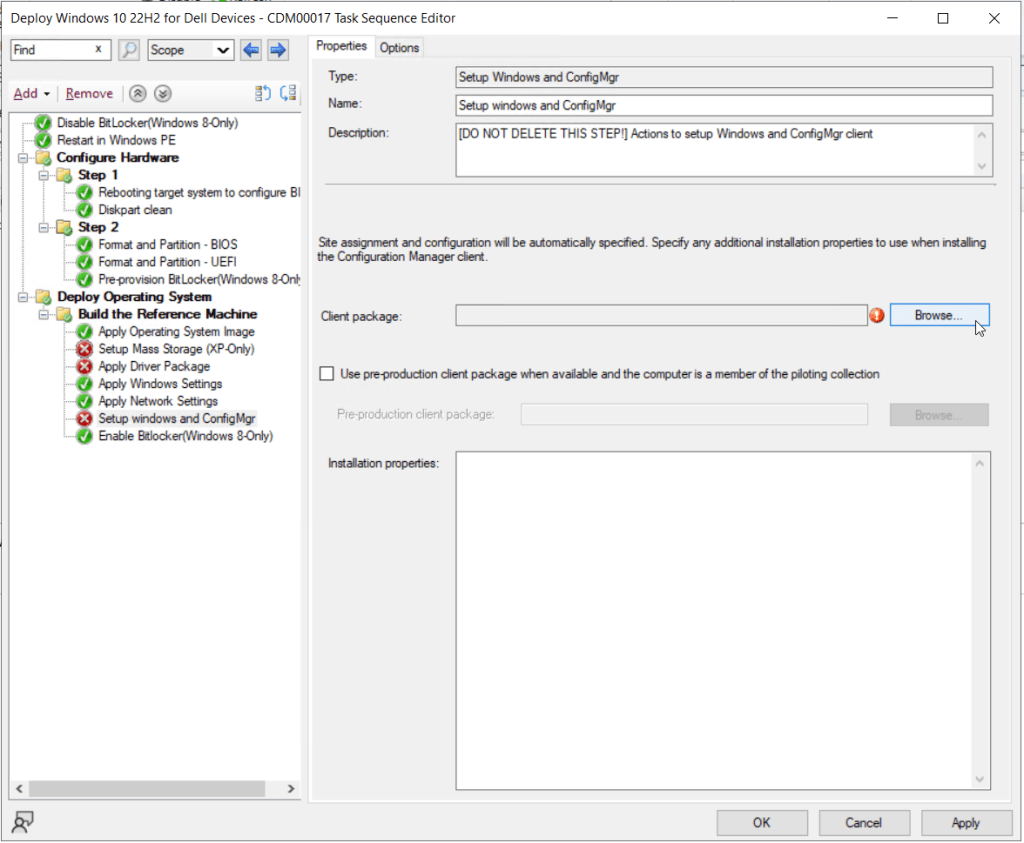
Select the Configuration Manager Client Package, from the list of deployment packages, then click OK.
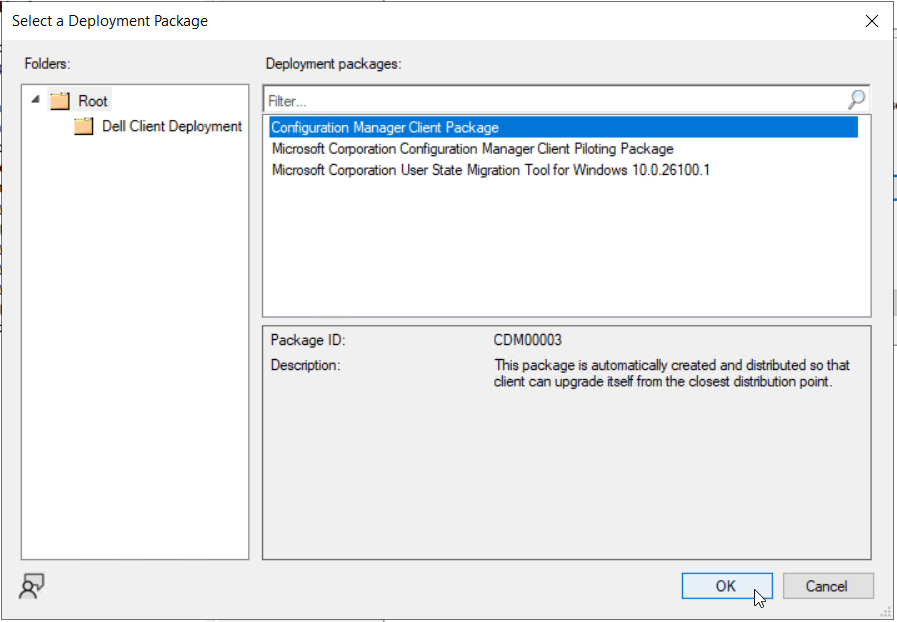
Our next modification will be to the Apply Driver Package step, also under Deploy Operating System > Build the Reference Machine. Click the Browse button next to the Driver package field.
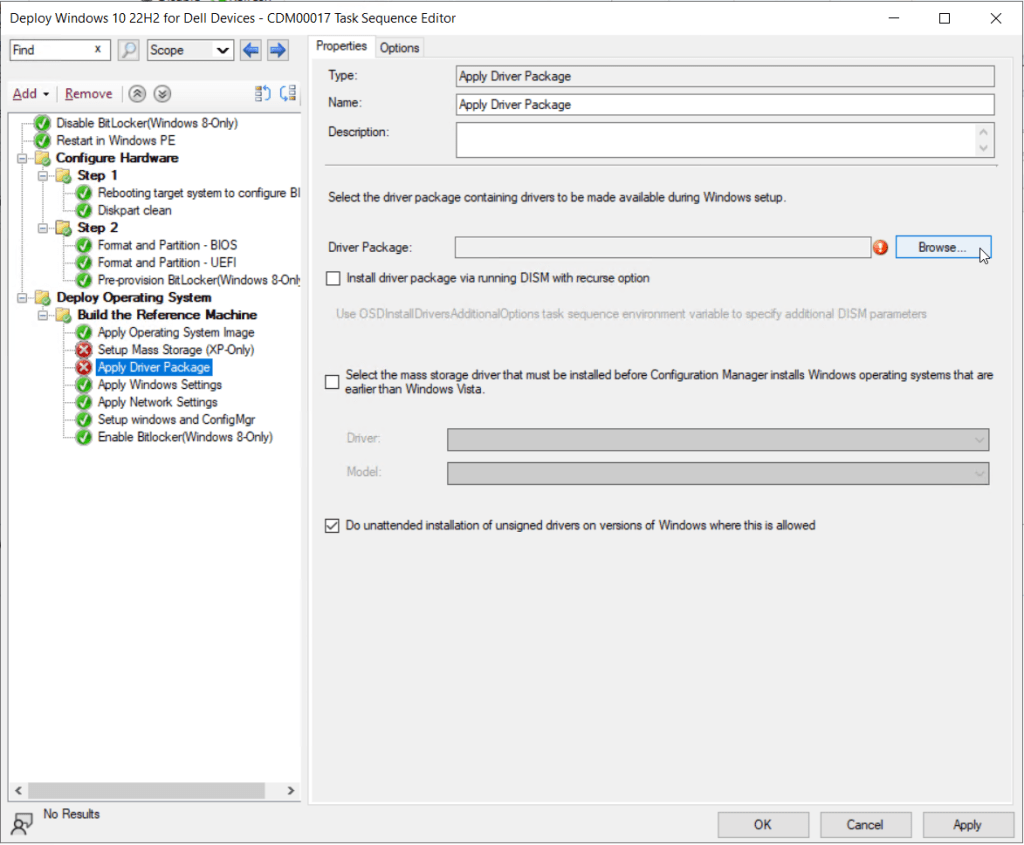
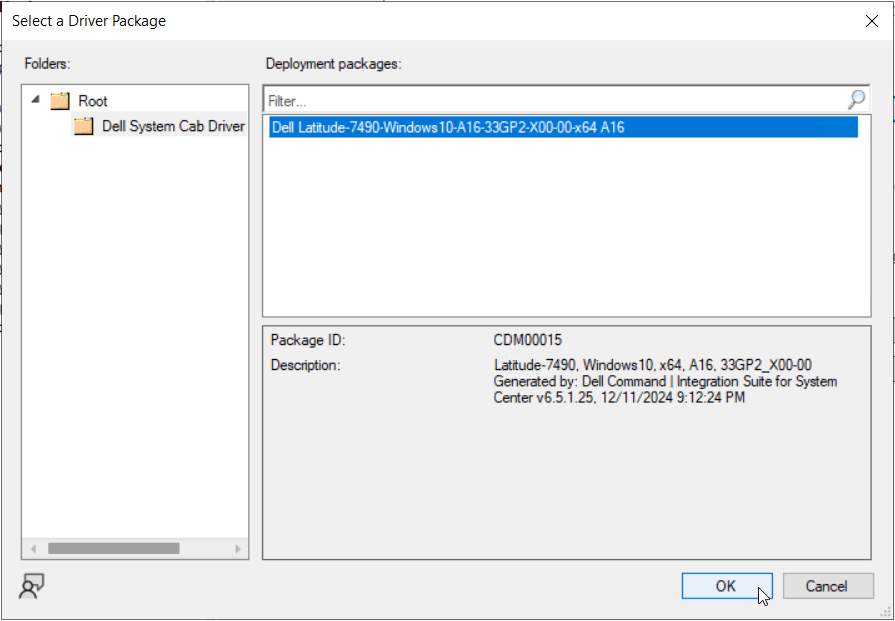
On the Select a Driver Package window that opens, expand the Root folder, then select the Dell System Cab Driver folder. Select the Dell driver CAB package previously imported. Click OK.
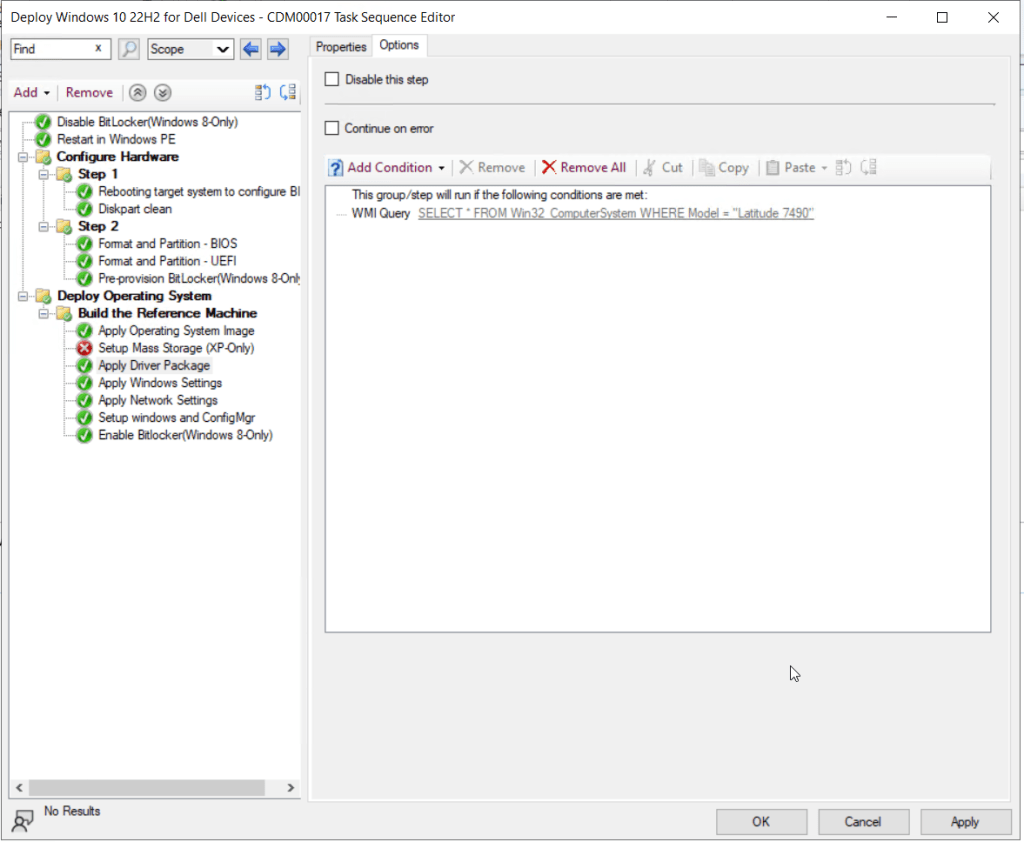
Back on the edit task sequence window with the Apply Driver Package step still selected, click the Options tab.
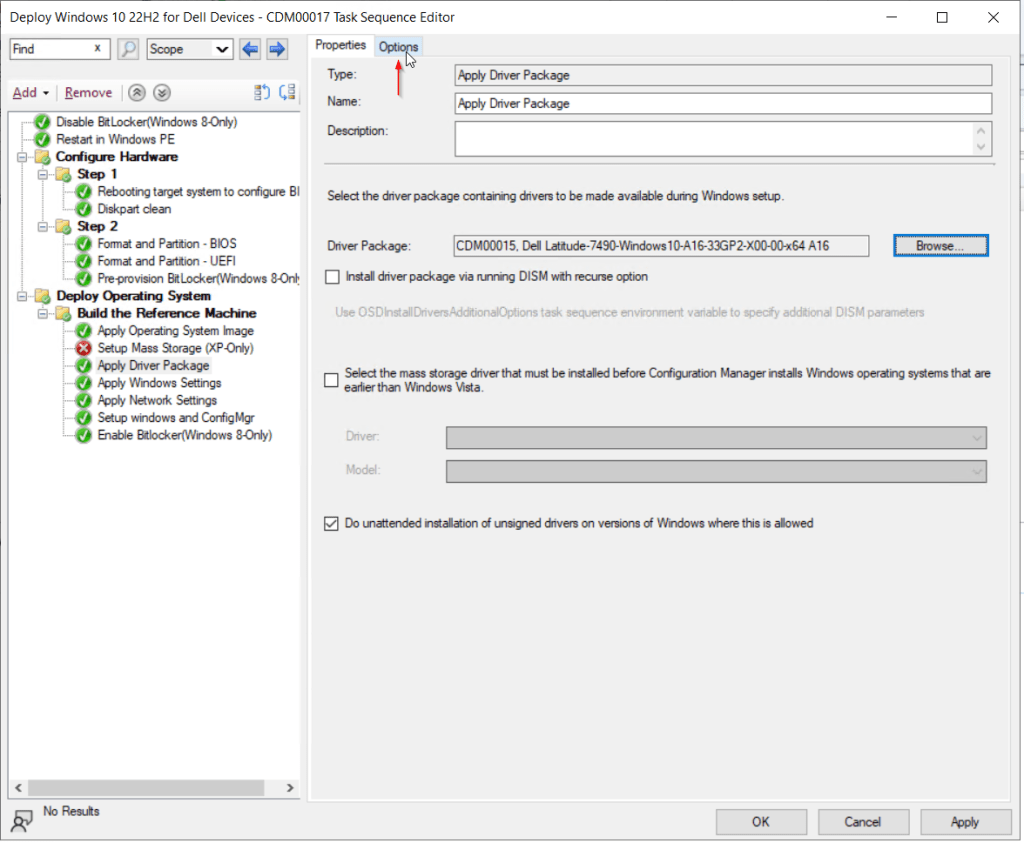
We will add a WMI query that will look at the model name value of the device during task sequence deployment. If the value of the device model name matches what we’ve specified for this driver package, this step will run and install the appropriate drivers. In this methodology, we can add multiple “Apply Driver Package” steps to a task sequence and only the most appropriate driver package for that particular model device will be applied.
Click Add Condition, then select Query WMI.
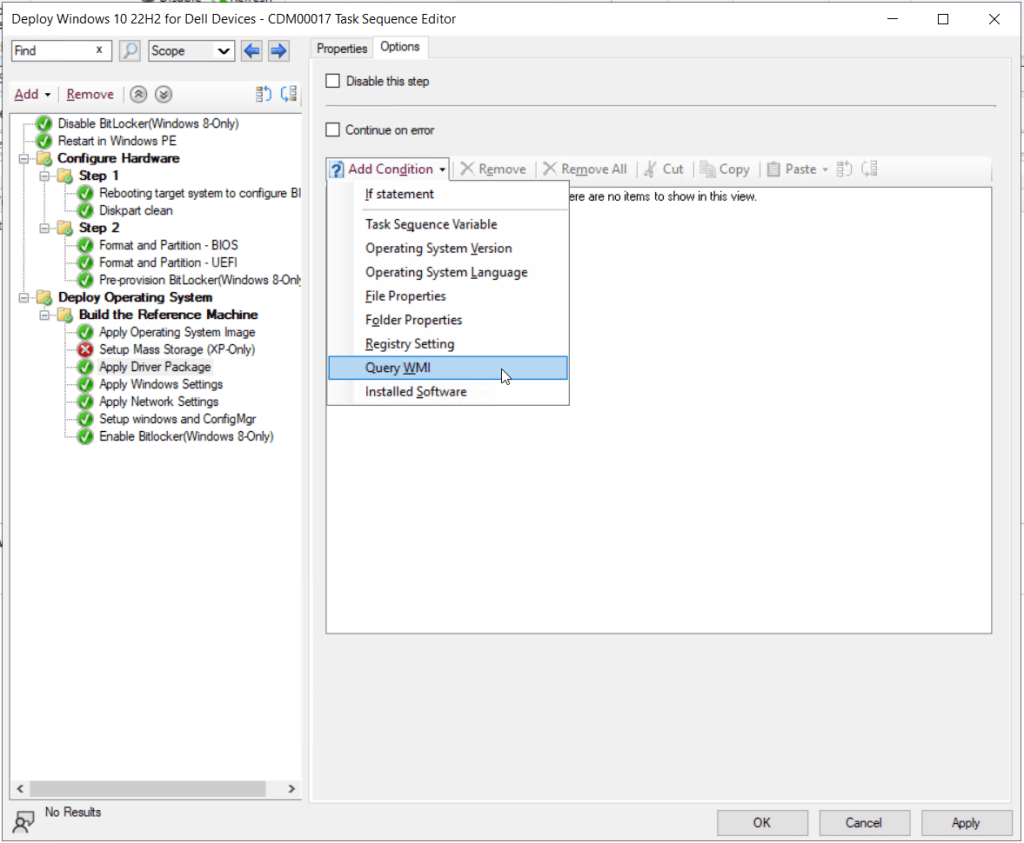
Leave the WMI Namespace value set to root\cimv2. In the WQL Query box, type the following:
SELECT * FROM Win32_ComputerSystem WHERE Model = "Latitude 7490"Be sure to replace Latitude 7490 with the appropriate model for your deployment.
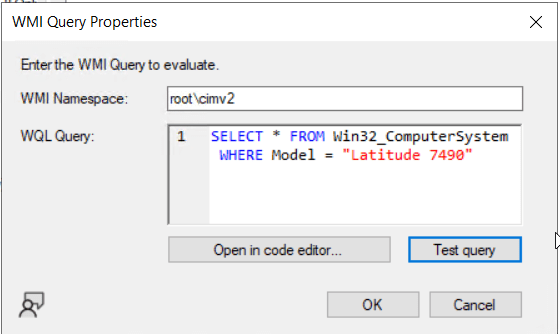
Click the Test query button if you want to validate the syntax of the query.
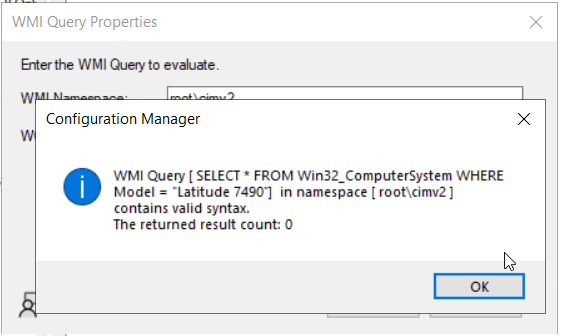
Click OK on the message, then click OK on the WMI Query Properties window.
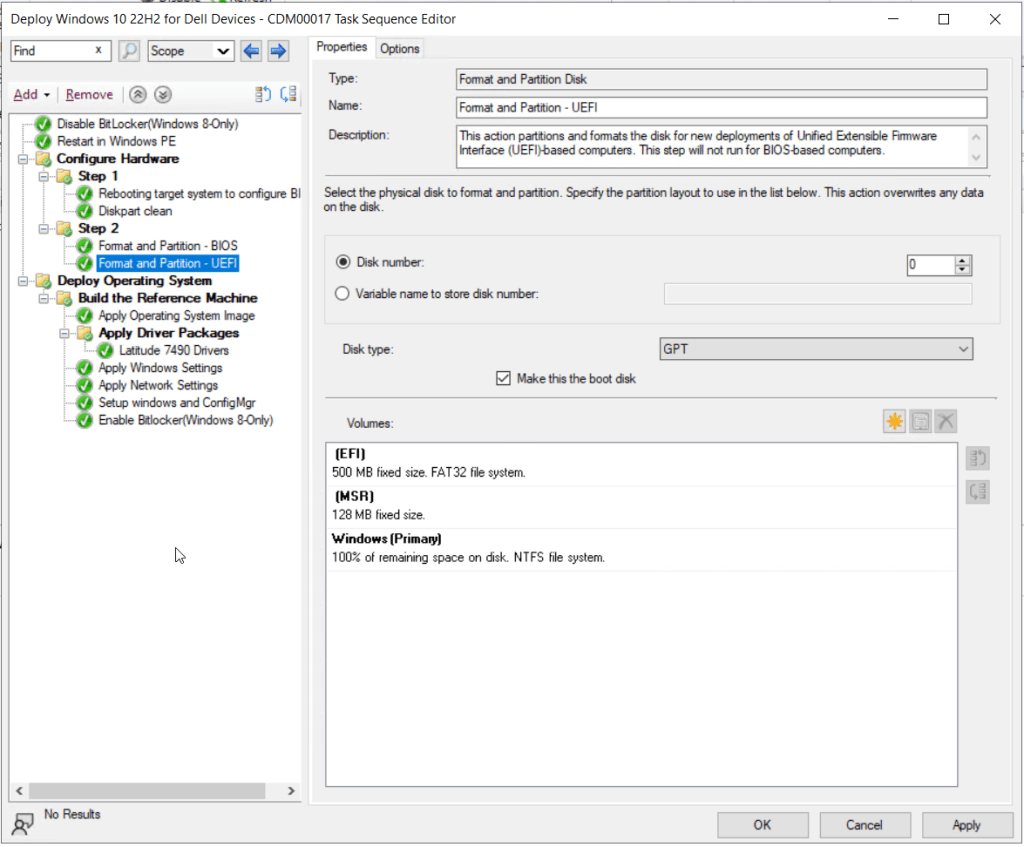
When attempting to add multiple driver package steps for different model devices, it’s a good idea to create a sub-group in your task sequence specific to driver deployment and group all the driver package steps under the folder for organization’s sake. Here’s what that might look like after creating a sub-group and renaming the Apply Driver Package step to the unique model name:

Our next step is to remove the Setup Mass Storage (XP Only) step as we do not need it. Click to select the step, then click Remove.
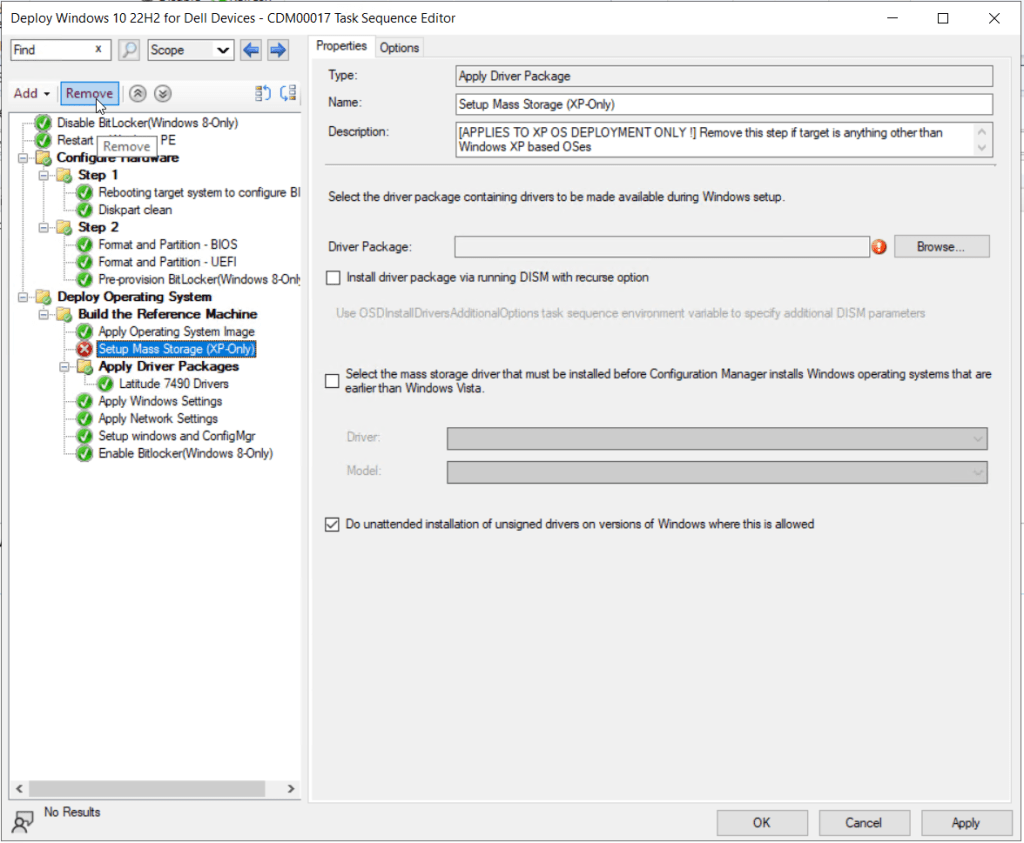
Click Yes to confirm the removal of the step.
All steps in the task sequence should now show as green. From here you can continue adding custom steps for application deployment, software updates, domain join, scripting, etc. as necessary for your environment.
When finished editing the task sequence, click the OK button to save the changes and return to the main Configuration Manager console window.
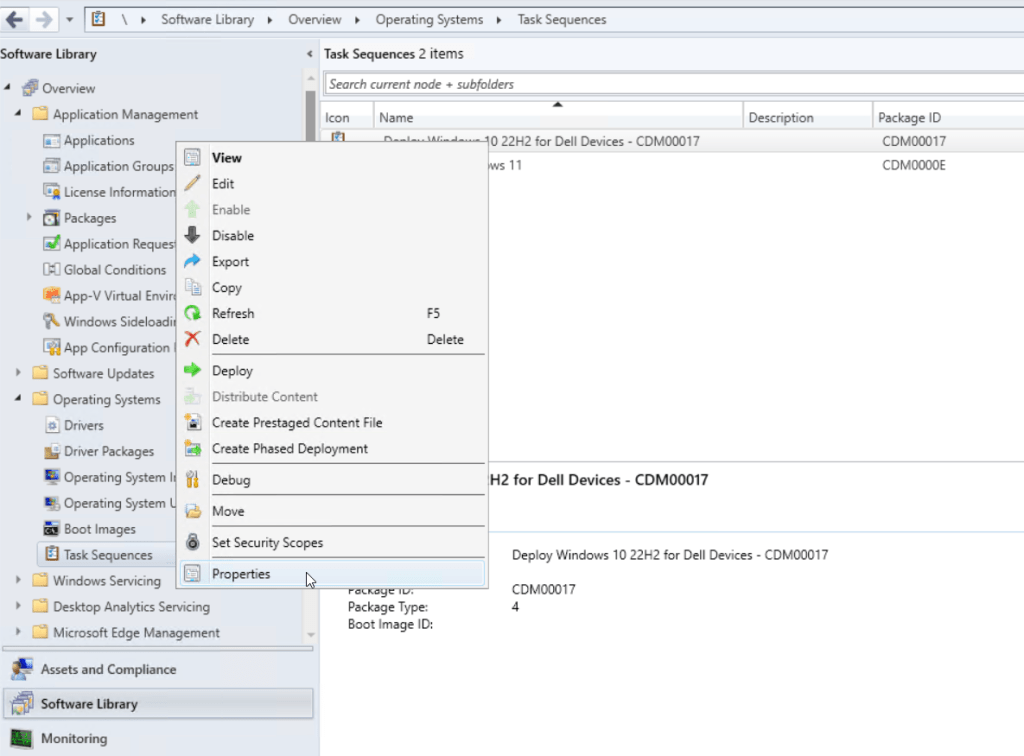
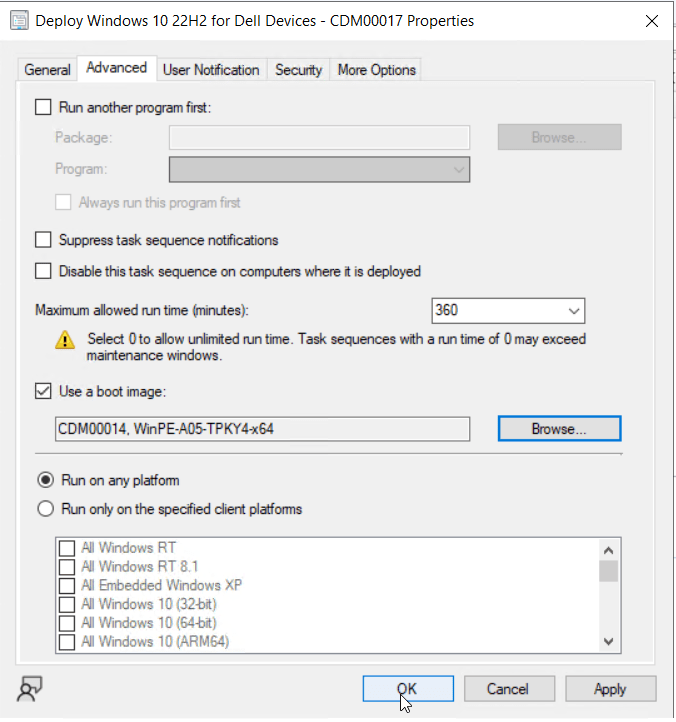
To ensure our newly created task sequence leverages the custom boot image with the Dell WinPE drivers we imported earlier, we need to assign the task sequence to the custom boot image. To do this, right-click on the task sequence again, this time selecting Properties.
Click the Advanced tab.
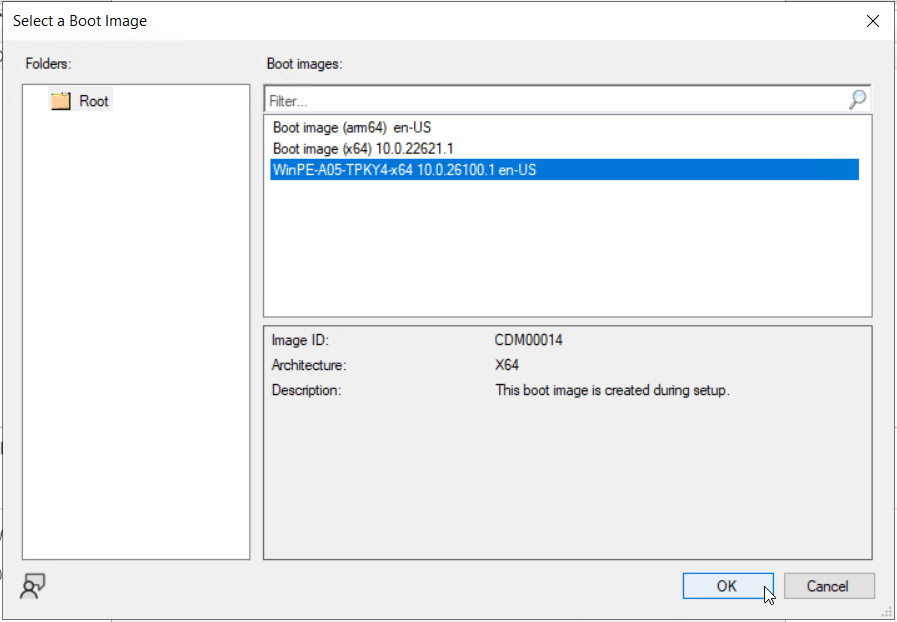
Select the option for Use a boot image, then click Browse.
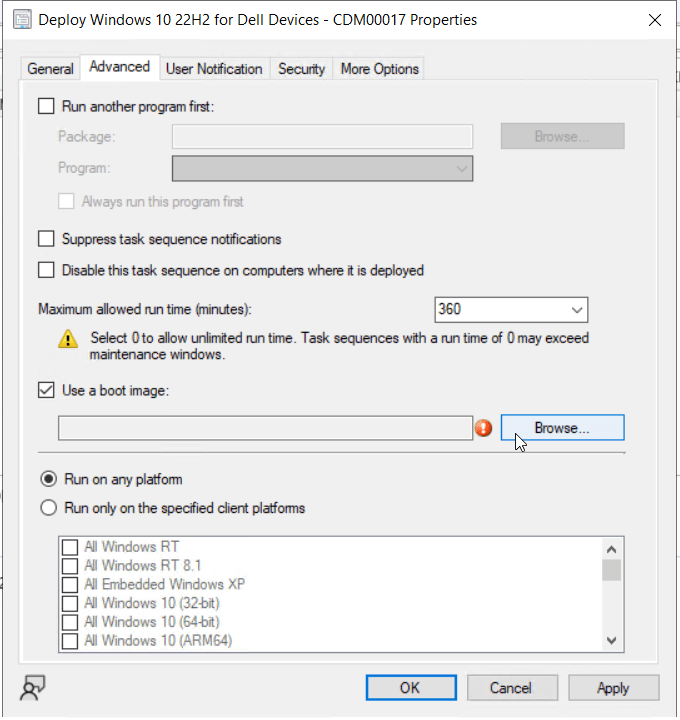
Select the custom boot image created previously, then click OK.
Click OK to commit the changes to the task sequence and return to the Configuration Manager console.
Deploy a Dell Optimized Task Sequence for Operating System Deployment
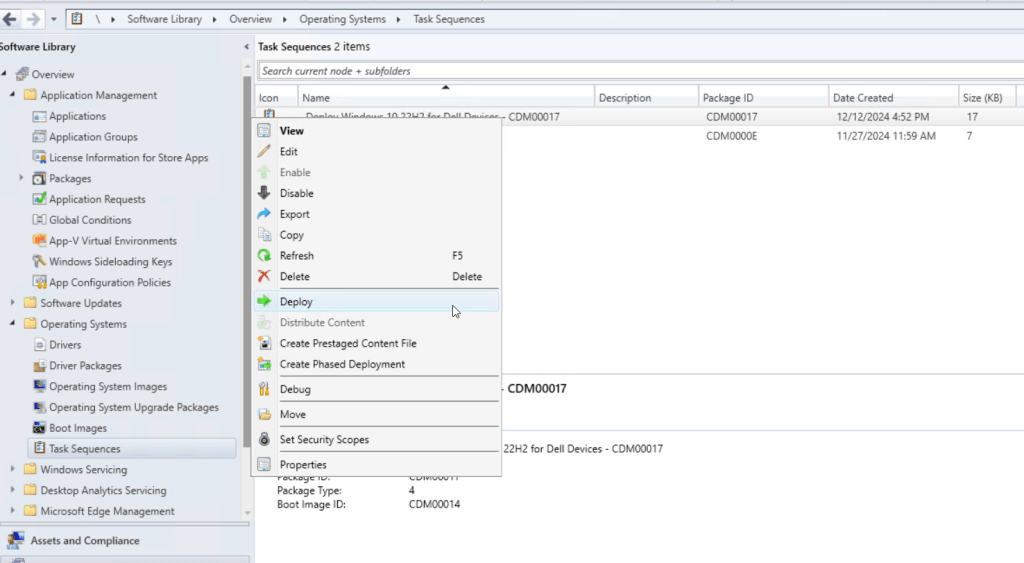
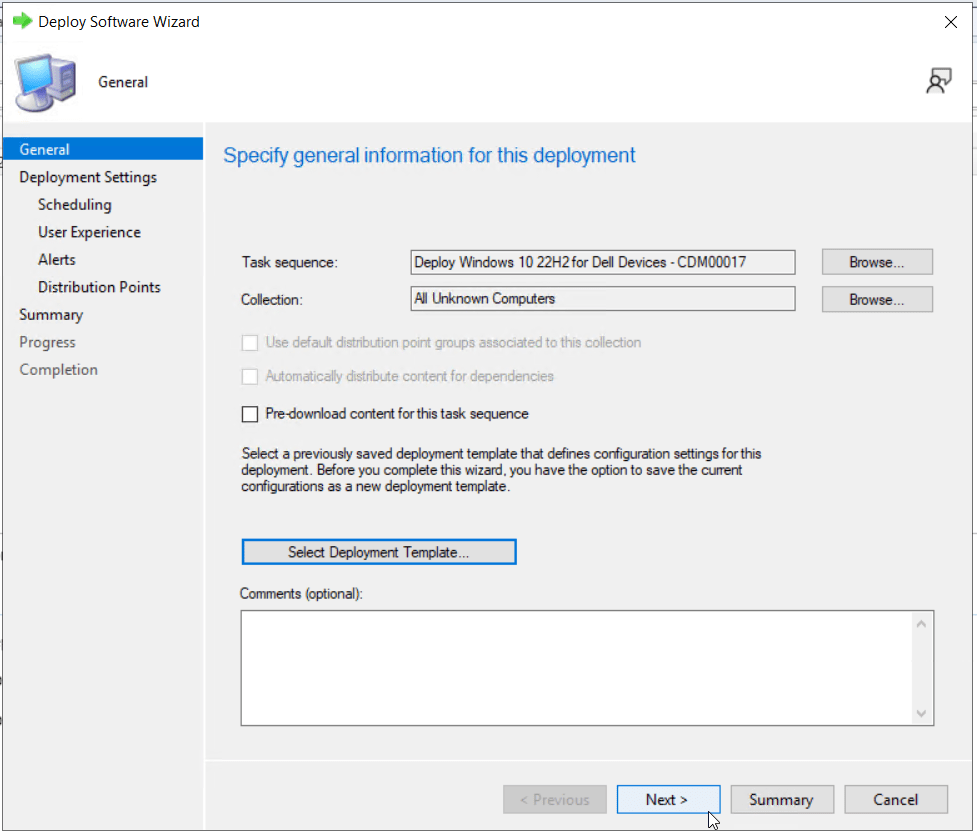
To advertise the custom task sequence to new Dell devices for operating system deployment, right-click the task sequence and select Deploy.
On the first page of the Deploy Software Wizard, select the Browse button next to Collection.
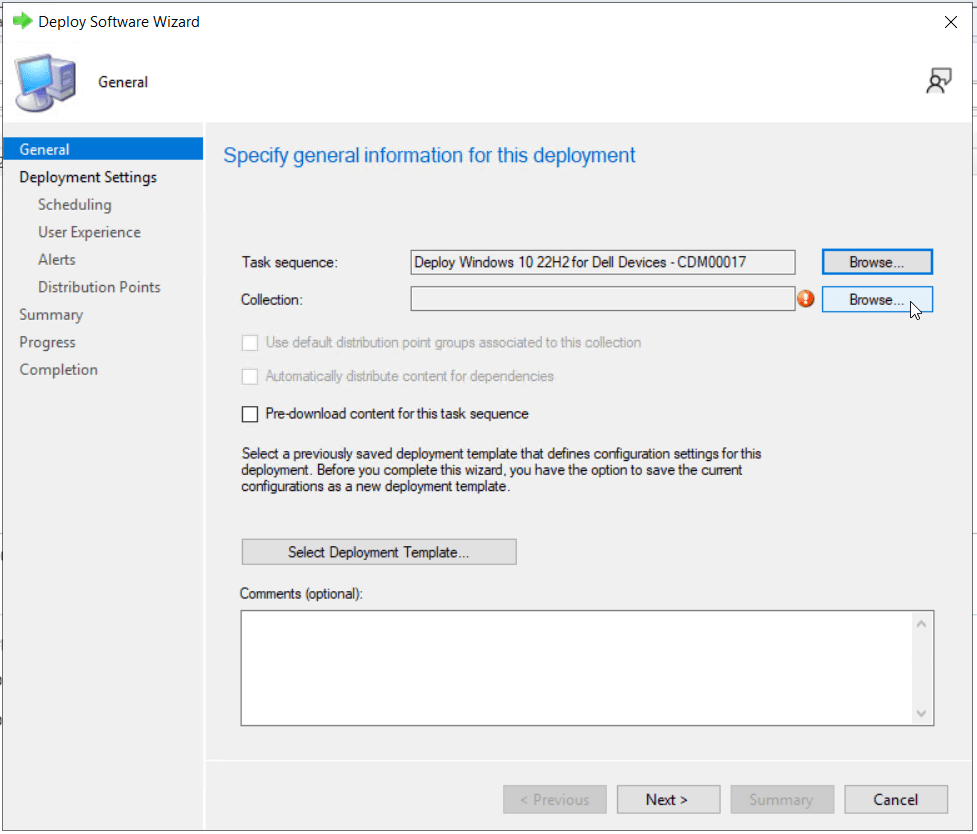
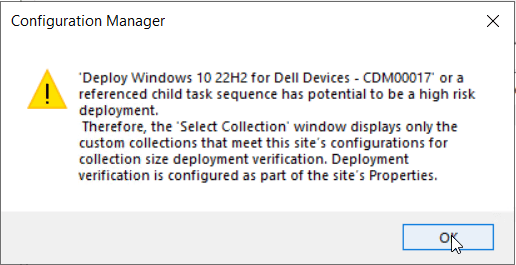
Click OK on the warning message that displays. This message warns you of the risk of deploying this task sequence if misconfigured. (For instance, deploying the task sequence as required and targeting a production collection of existing devices) Use caution when assigning task sequences for operating system deployment!
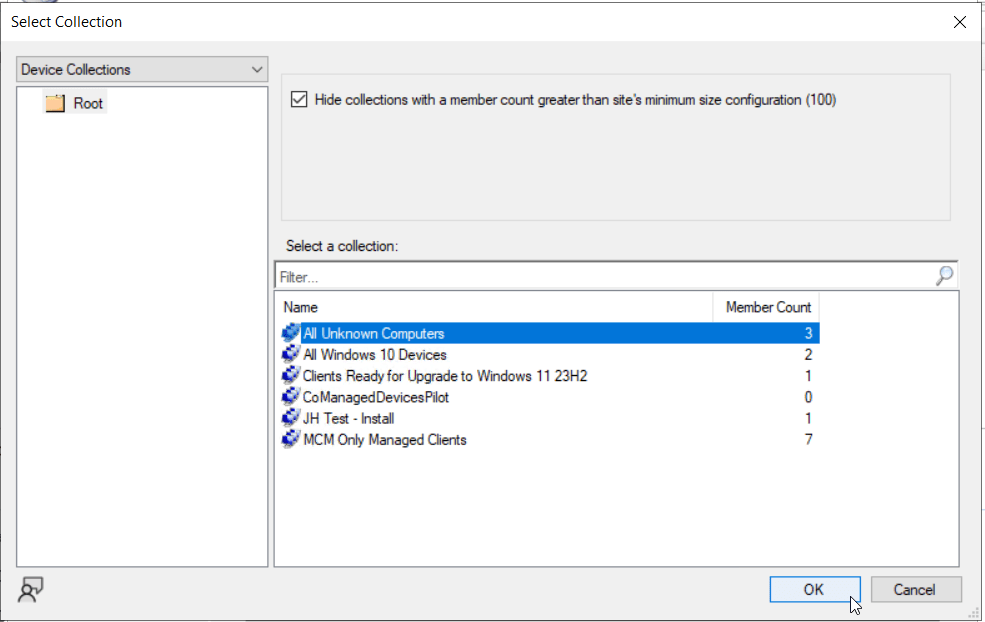
Select the All Unknown Computer device collection, then click OK.
Click Next.
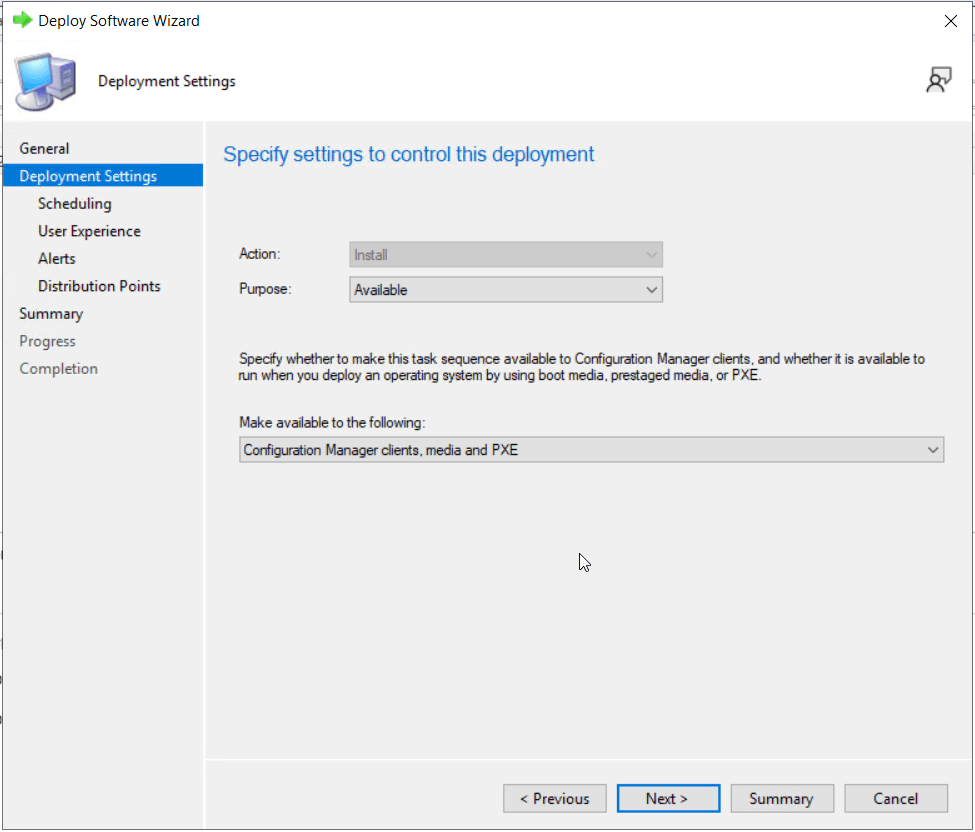
On the Deployment Settings page, leave purpose set to Available. Under “Make available to the following”, click the drop down and select Configuration Manager clients, media and PXE. Click Next. I’m choosing this option instead of Media and PXE only because I may encounter a scenario in my environment where I want to run this task sequence on an already deployed client device to “re-image” the endpoint.
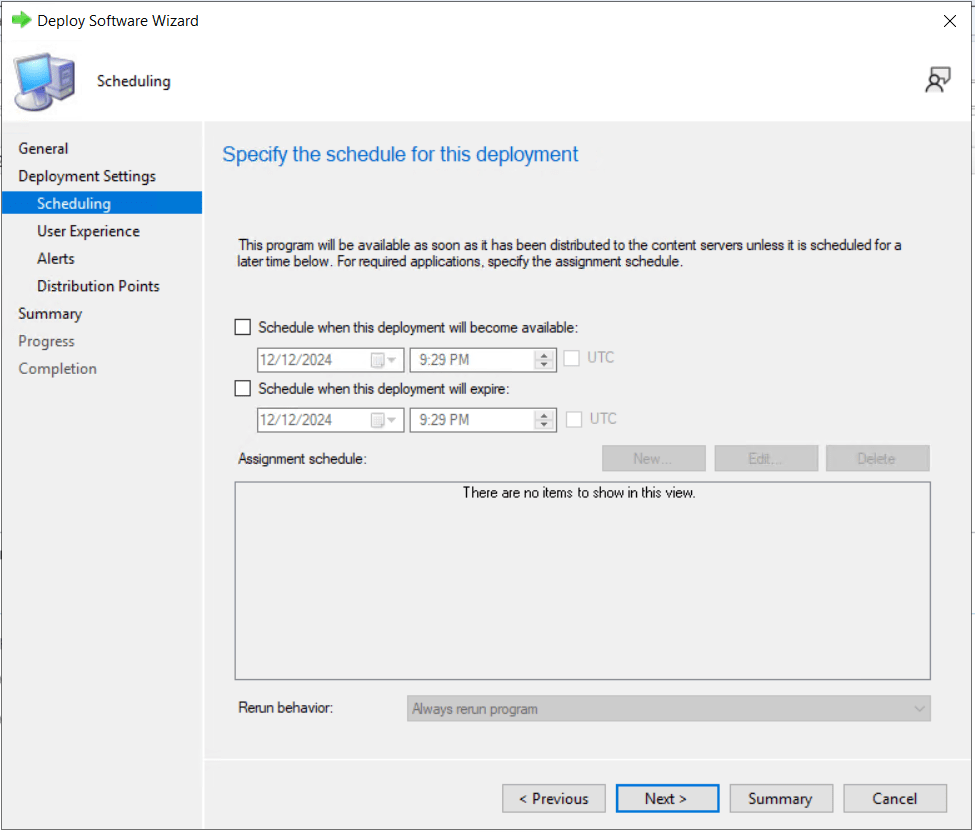
Leave all settings on the scheduling page as is to immediately advertise the task sequence to clients. Click Next.
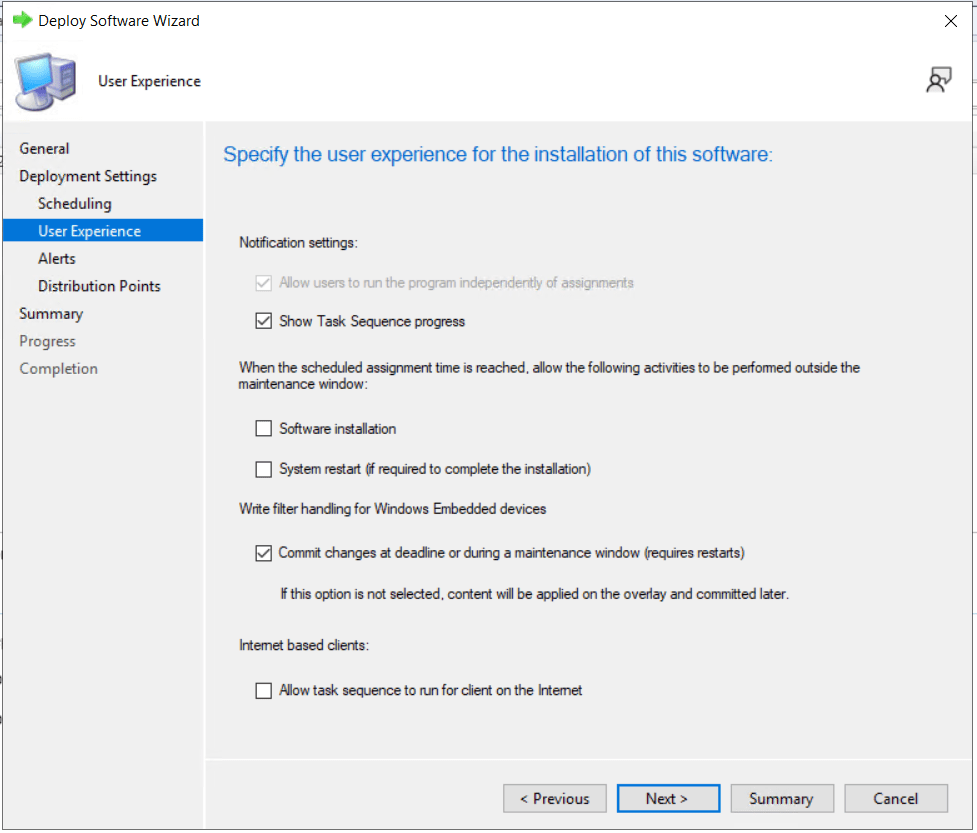
Leave all settings on the user experience page set to defaults. Click Next.
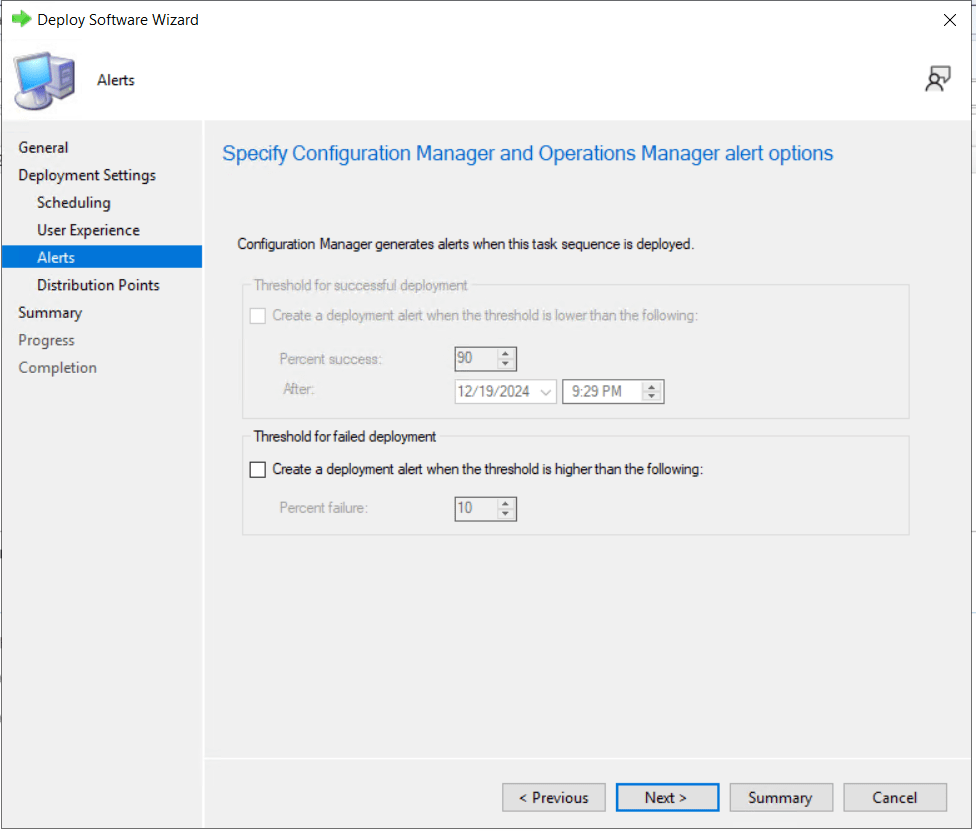
Leave the alerts page at the defaults, then click Next.
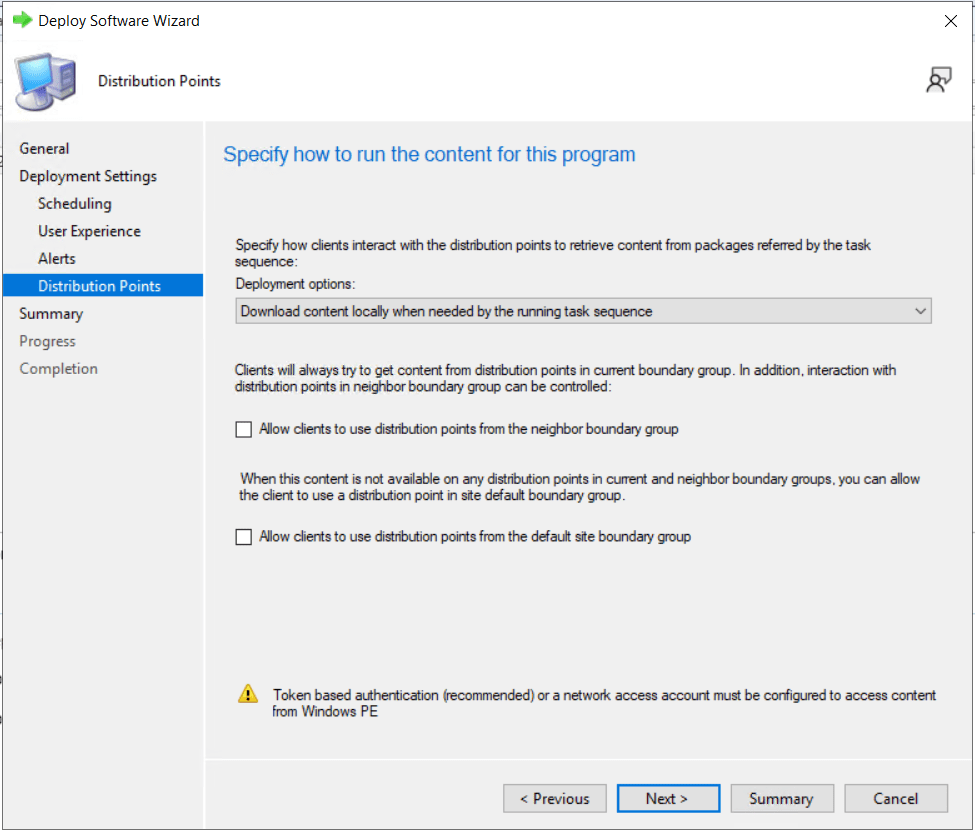
On the Distribution Points page of the wizard, adjust any necessary settings to meet the requirement of your site architecture, then click Next.
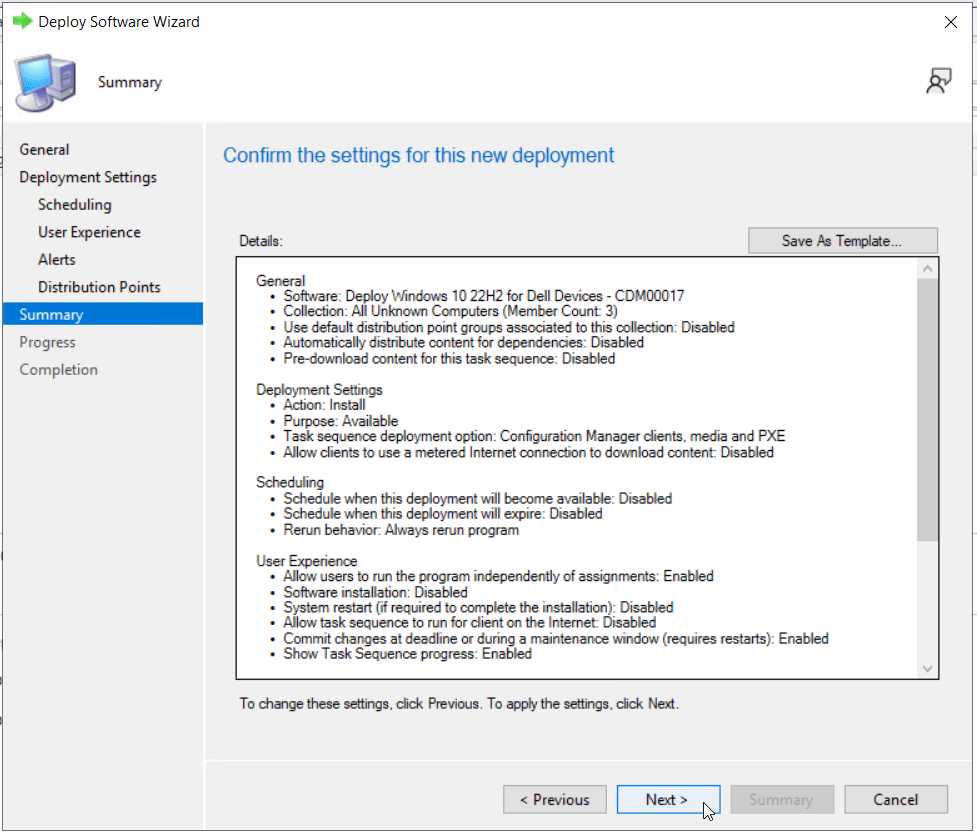
Review your settings on the summary page.
Note: To save time in the future for similar task sequence deployments, you can optionally click the Save As Template to save your deployment settings. The next time you deploy a similar task sequence, on the first page of the wizard, click the button for Select Deployment Template and pick the template you’ve saved.
Click Next to commit the deployment.
Click Close to finish the deployment wizard.
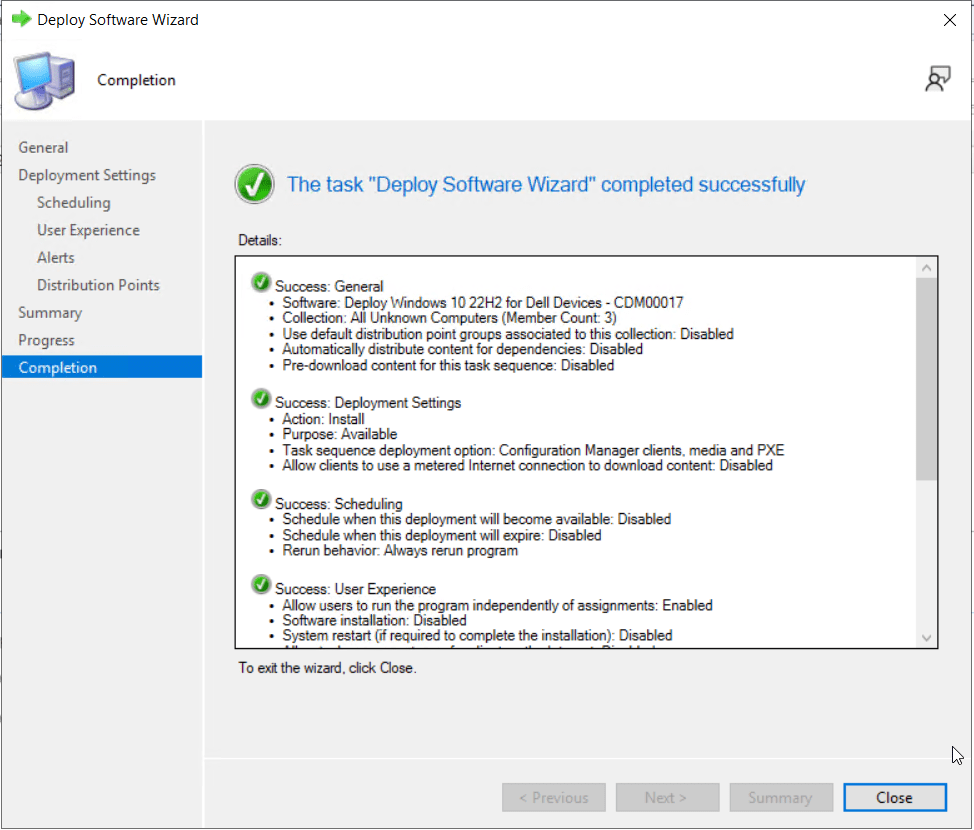
This completes the creation of a custom Dell device task sequence to deploy the Windows 10/11 operating system with model-specific Dell drivers using a WinPE boot image that contains the necessary drivers to boot Dell enterprise client devices!
Are you finding the content on my site particularly helpful? Please consider donating to help me offset the costs of maintaining this site. Your support is greatly appreciated!


Leave a comment